Disclaimer: In this post, I present a project that I finished successfully. However, it is not meant as a detailed construction manual. The description may be incomplete and might even contain errors. Feel free to use it as an inspiration for your own project but scrutinize the information presented here and use your common sense. Build at your own risk!
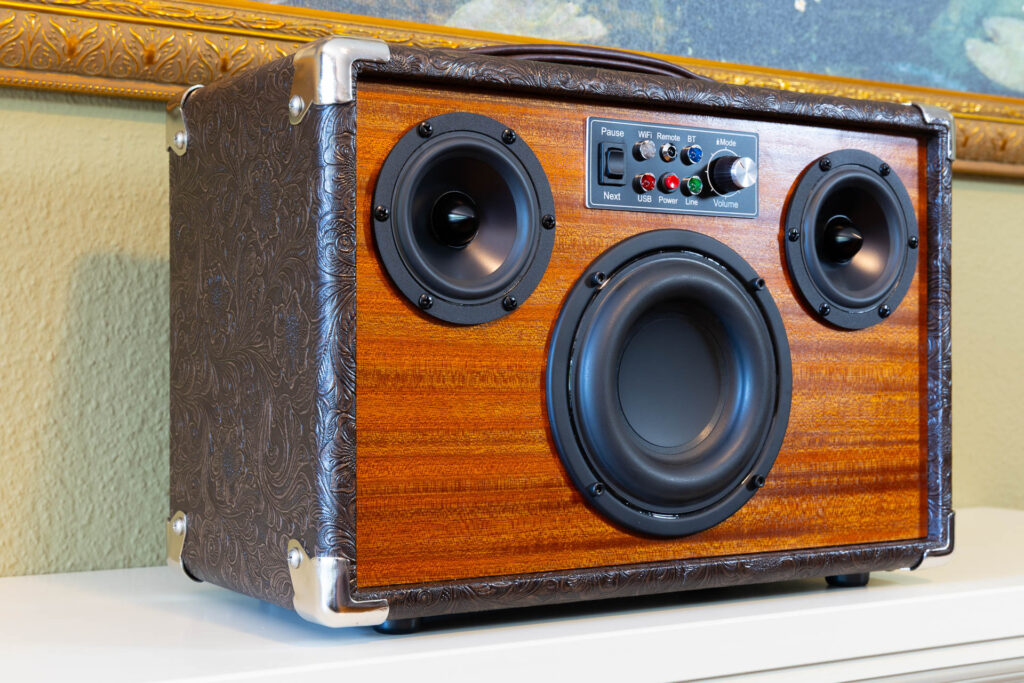
After the cabinet was finished, the amplifier and the battery board installed, and the panels added, it was time for the final assembly.
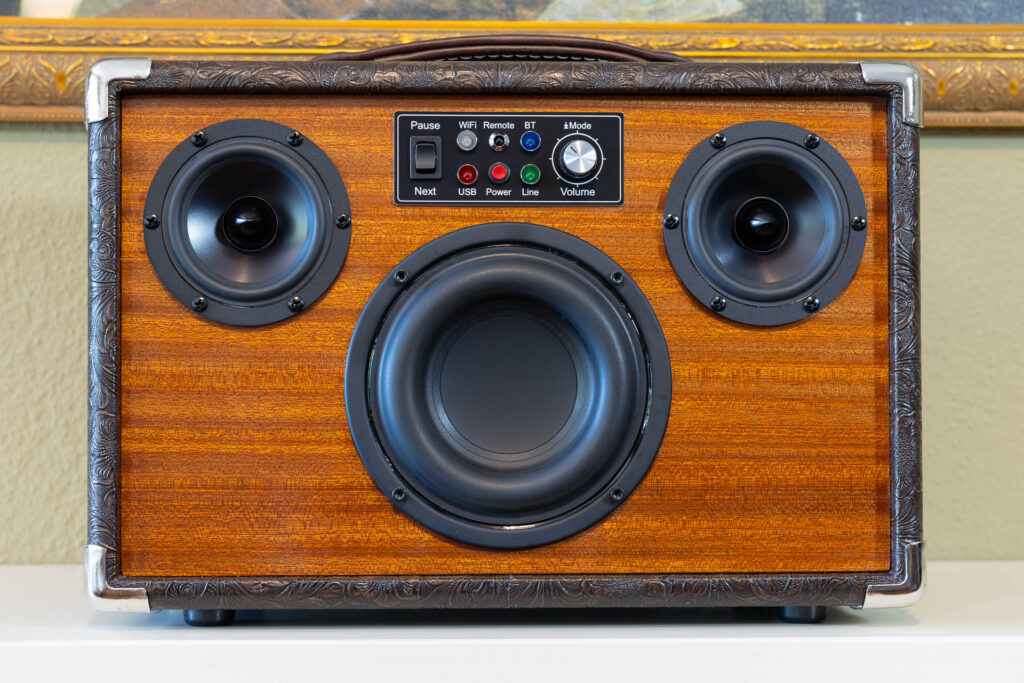
First, I installed the three speakers to the front piece of the cabinet. That is, two fullrange speakers (Dayton Audio RS100-4) and the subwoofer (Tang Band W5-1138SMF). For the looks, I used special loudspeaker screws. Monacor MZF-4018 ⌀4x18mm for the fullrange speakers and Monacor MZF-8614 ⌀4x16mm for the subwoofer. Before I installed the fullrange speakers I put some damping material into the speaker compartments. Also, I soldered the speaker wires to the speakers.
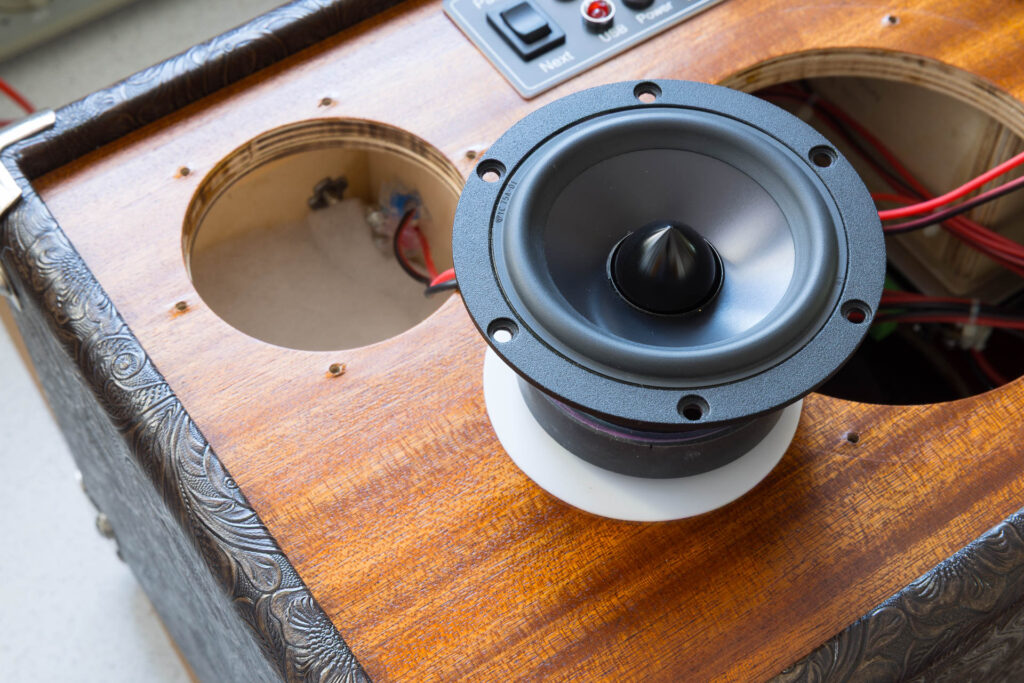
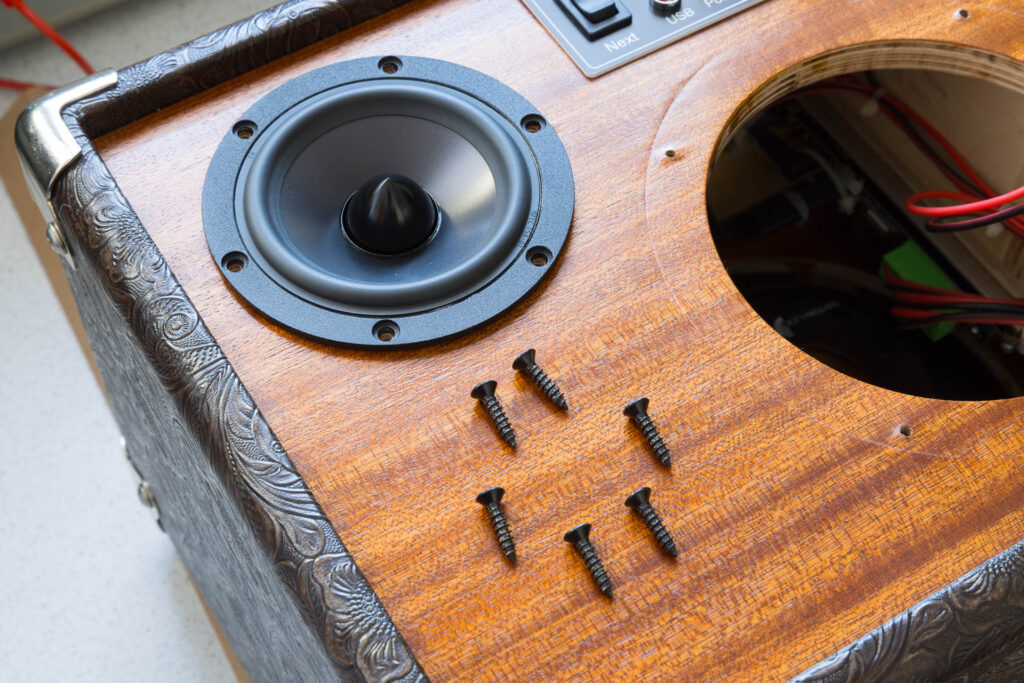
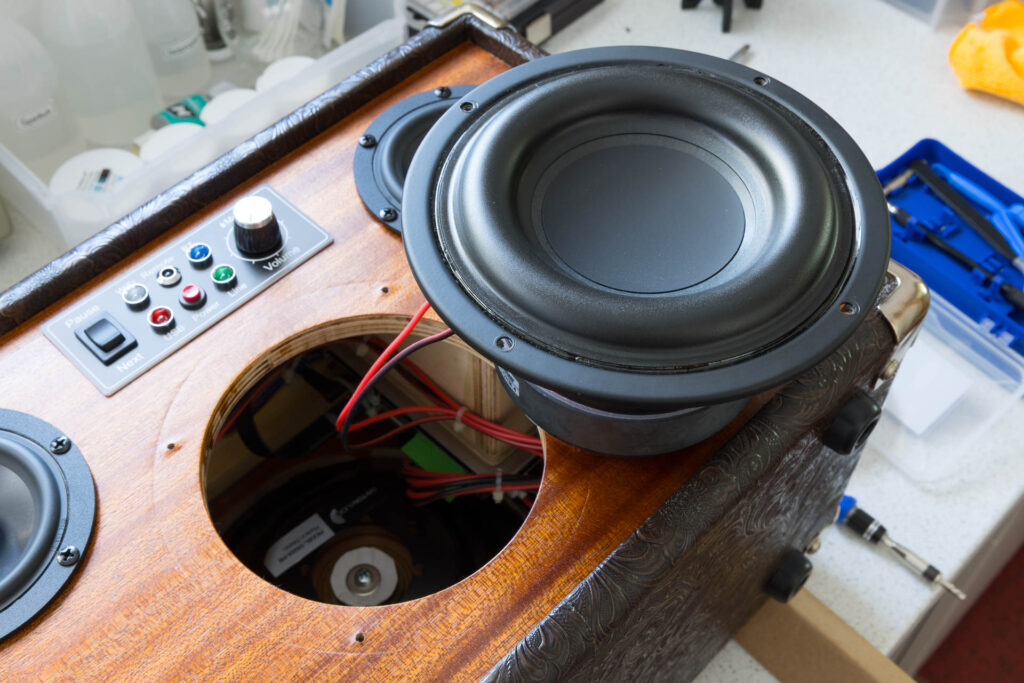
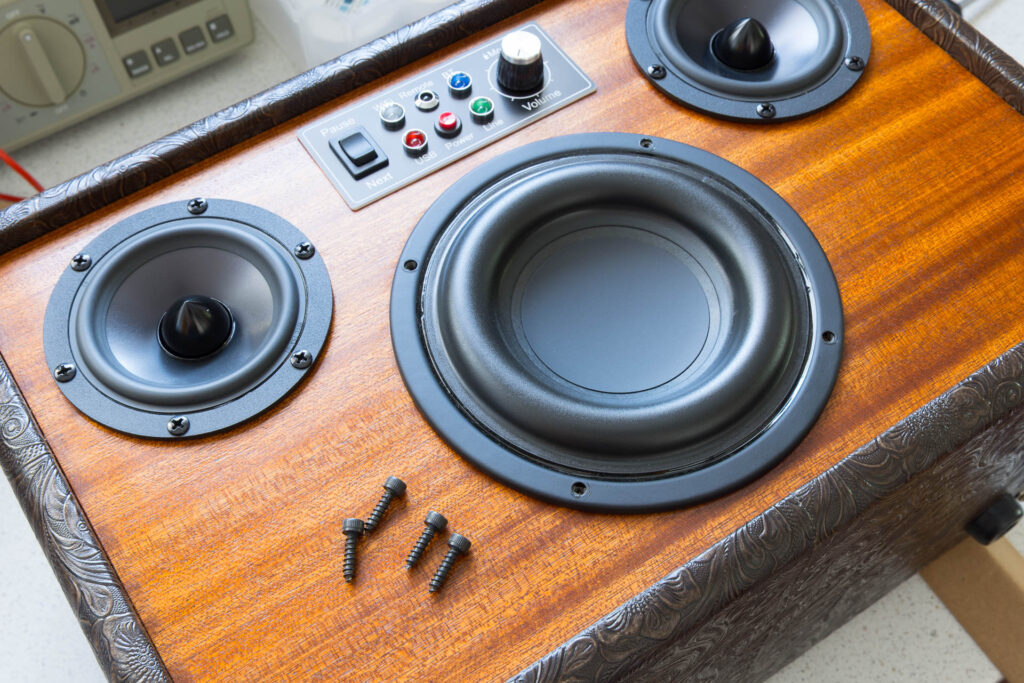
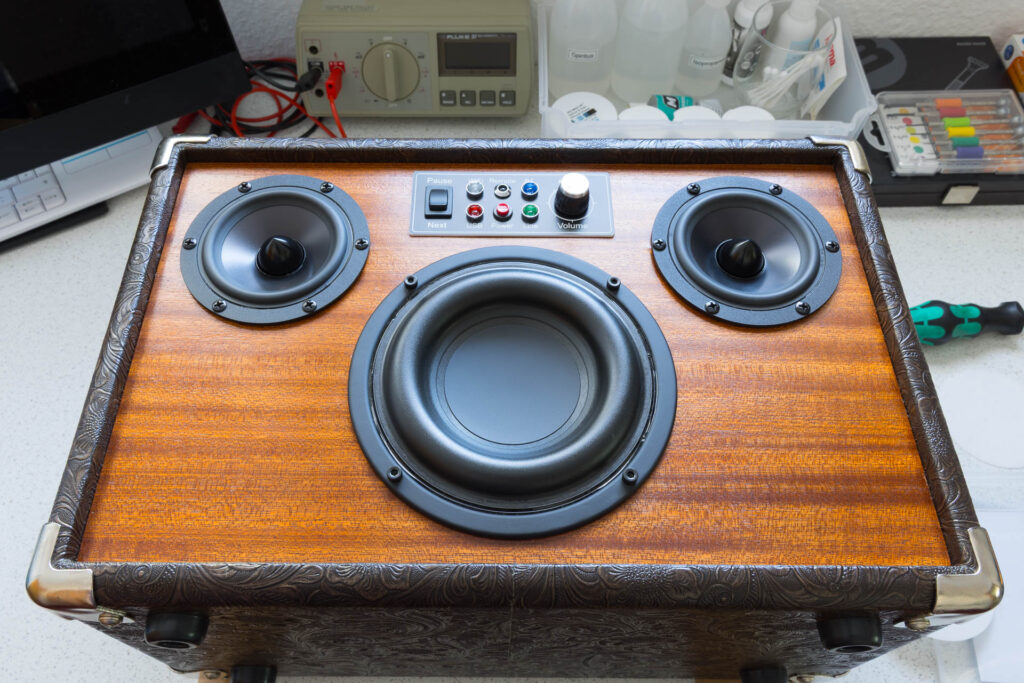
Then, I wired the speakers, the amplifier and power supply board, and the elements on the panels together. Whenever possible, I used cable clamps or ties to secure the cables. When the bass volume is high, there might be a heavy airflow in the cabinet and the cables should not swing back and forth. The wires to the input and power supply panels should be long enough to allow moving the back piece to a convenient place during assembly.
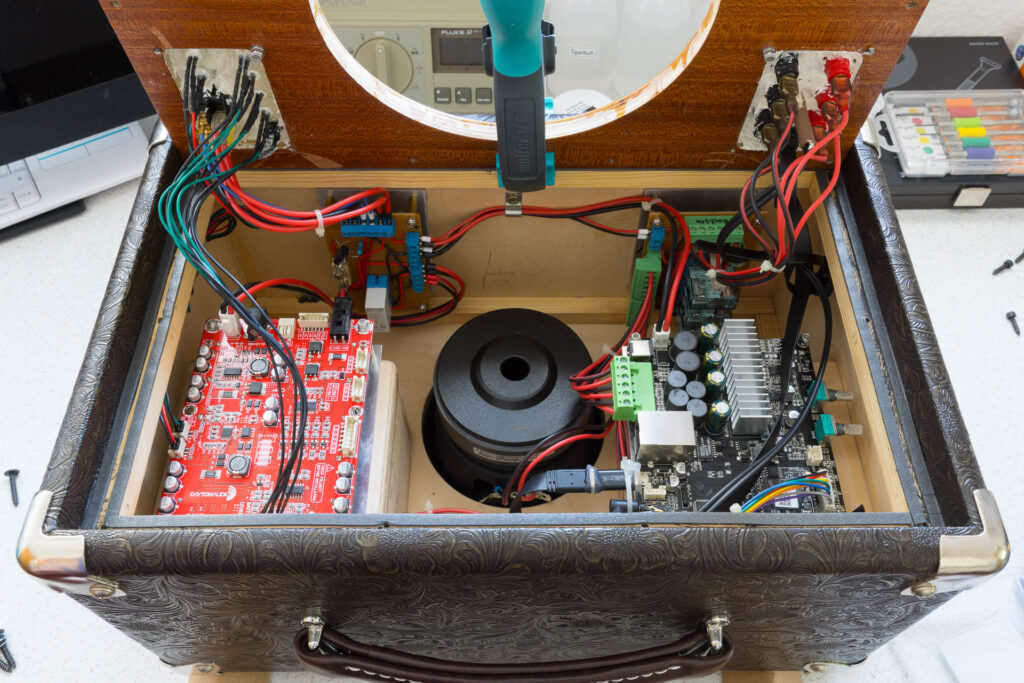
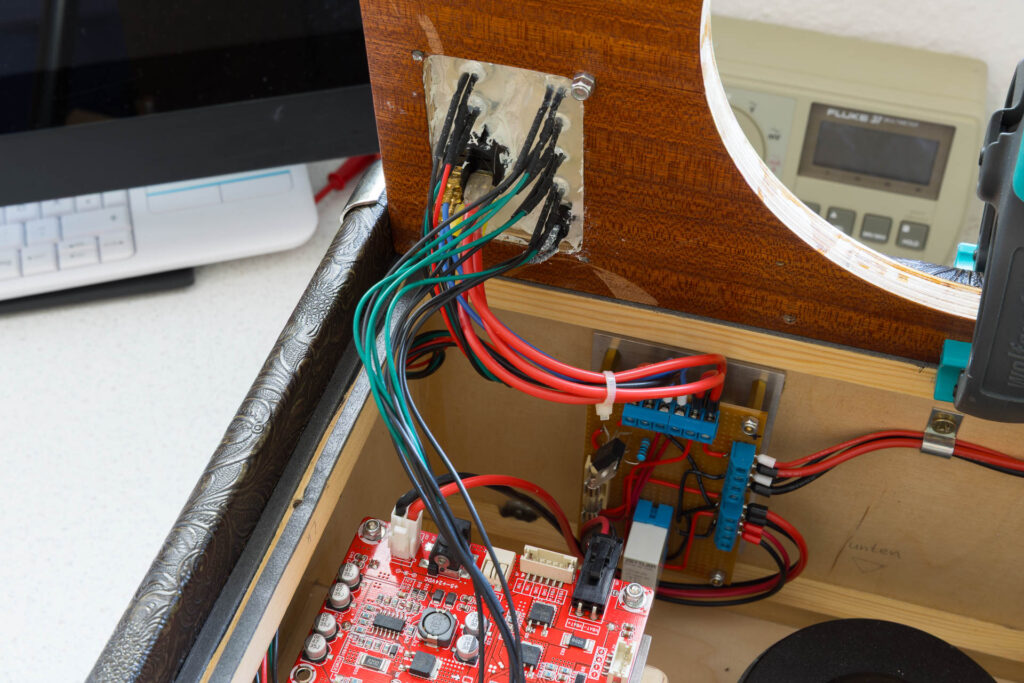
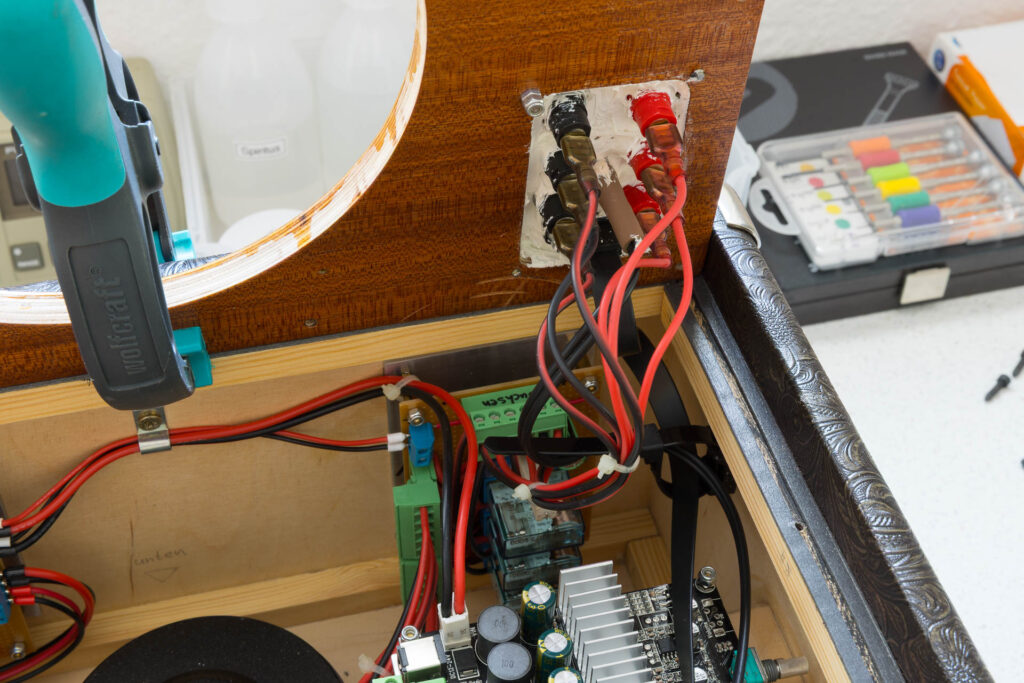
In the next step, I screwed the back piece into the cabinet. For this, I used wood screws ⌀4.2x25mm. Before installation of the back piece, I glued sealing tape (Monacor MDM-5) to the wood strips on the back of the cabinet to keep it airtight.
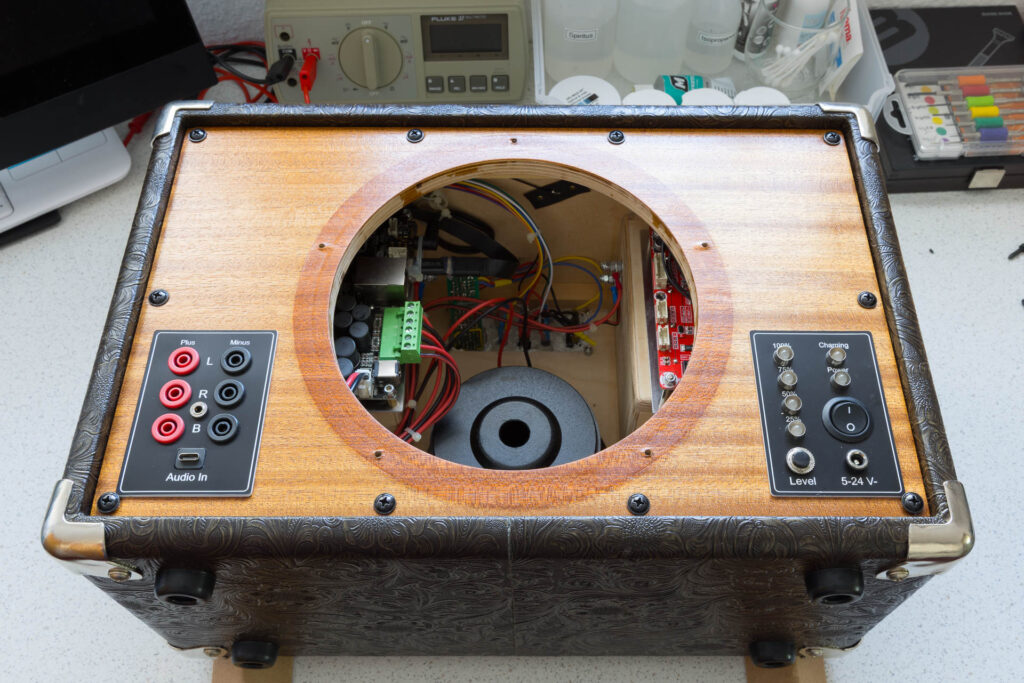
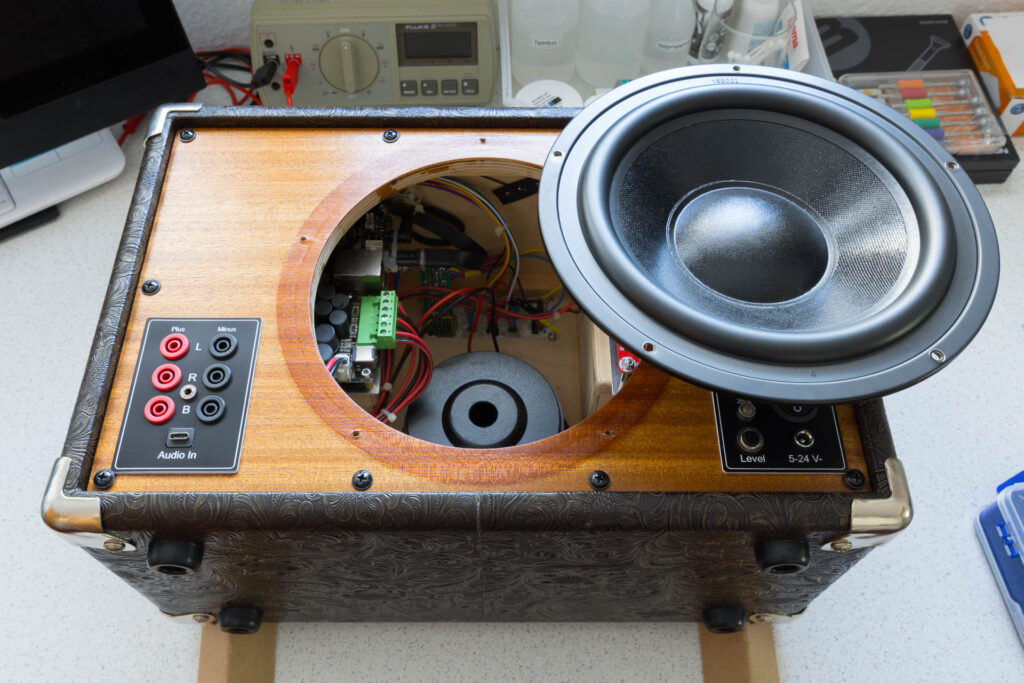
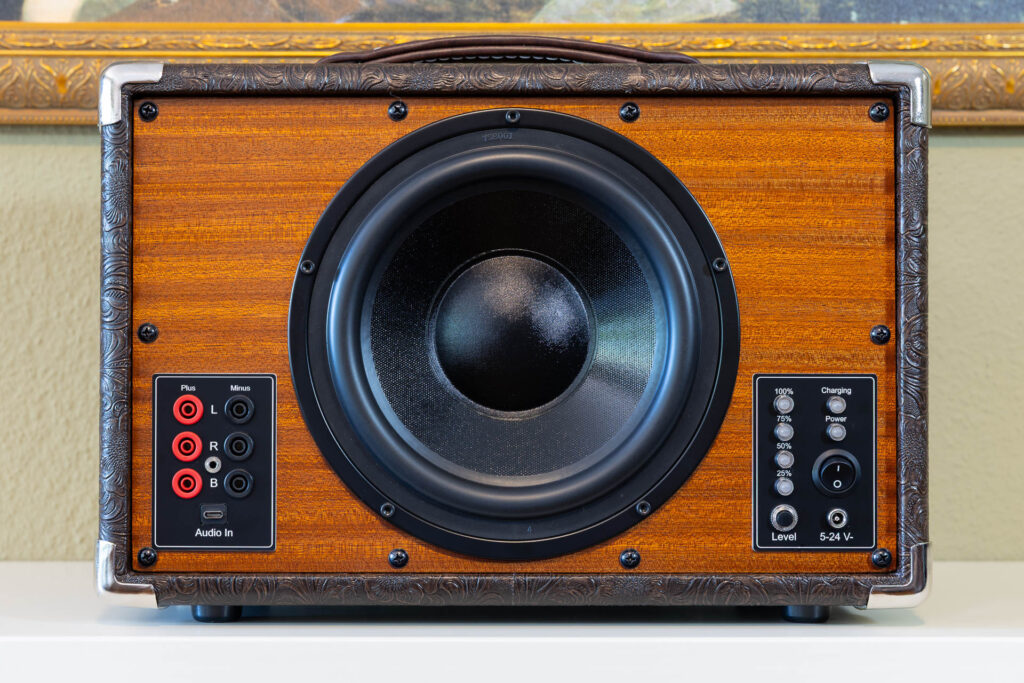
Finally, I installed the passive radiator (Dayton Audio DS215-PR) using Monacor MZF-8614 ⌀4x16mm screws.
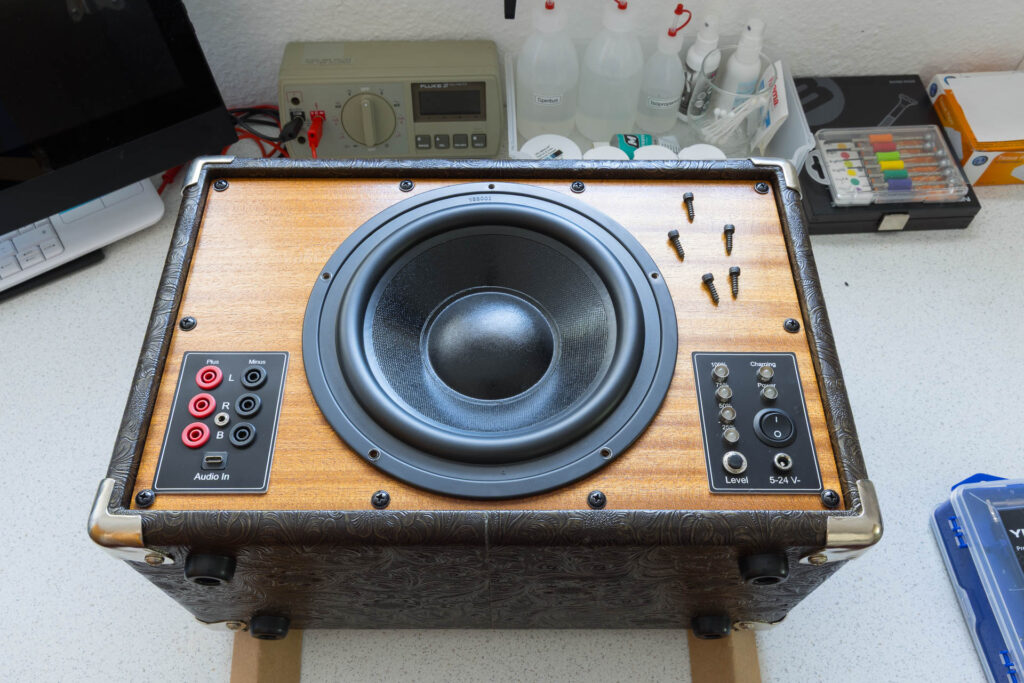
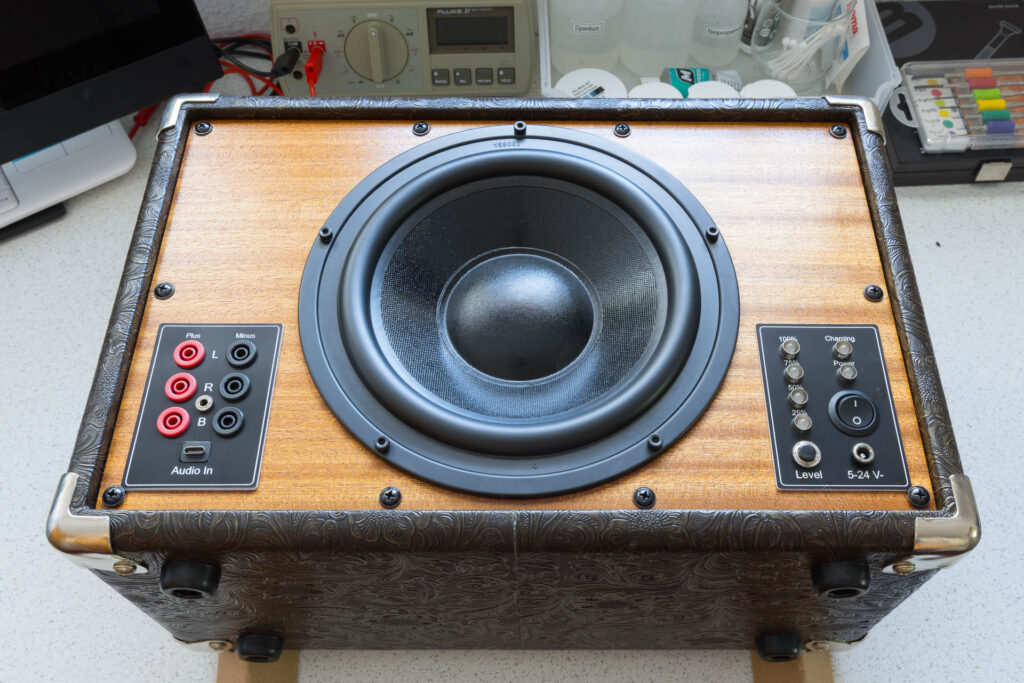
With this step, the “hardware” part of the boombox build was finished.
In the final post, I will describe some details of the initial setup (the “software” part) of the boombox.