Disclaimer: In this post, I present a project that I finished successfully. However, it is not meant as a detailed construction manual. The description may be incomplete and might even contain errors. Feel free to use it as an inspiration for your own project but scrutinize the information presented here and use your common sense. Build at your own risk!
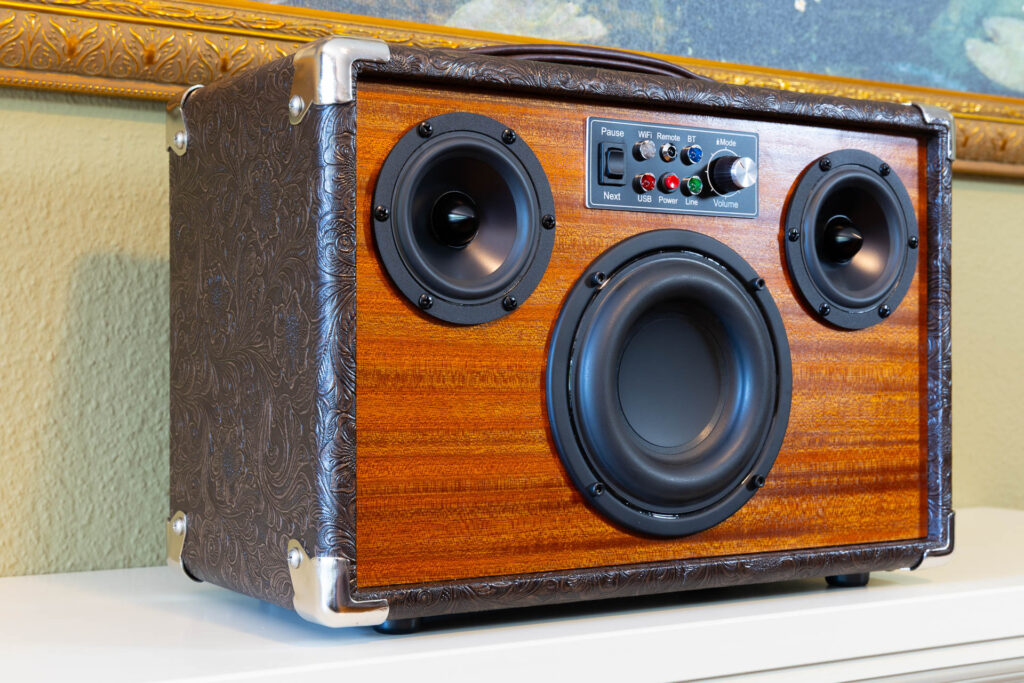
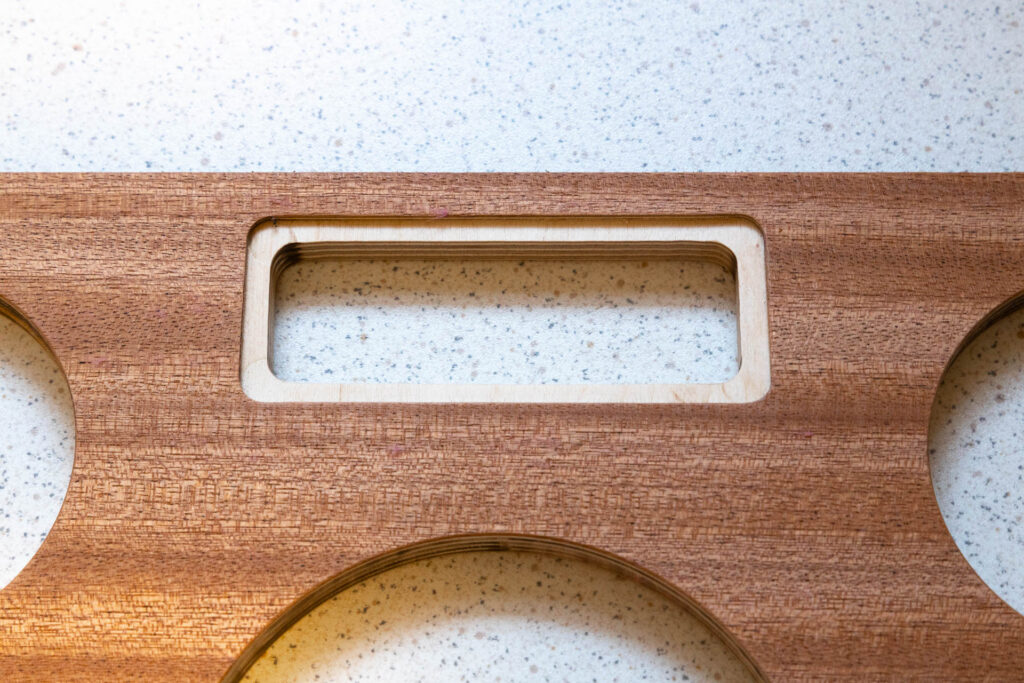
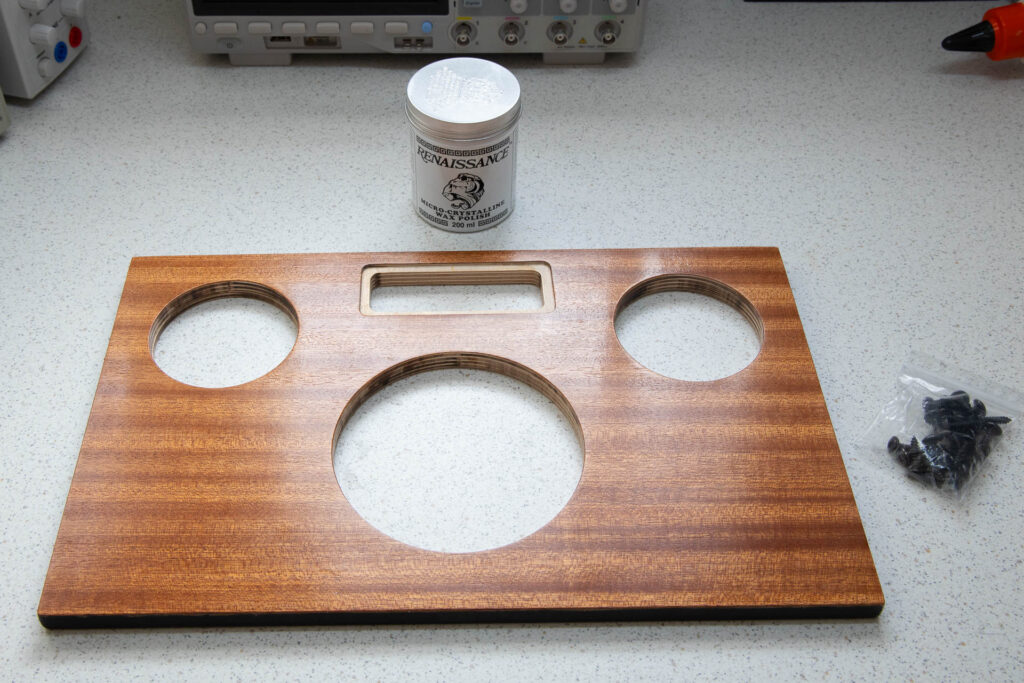
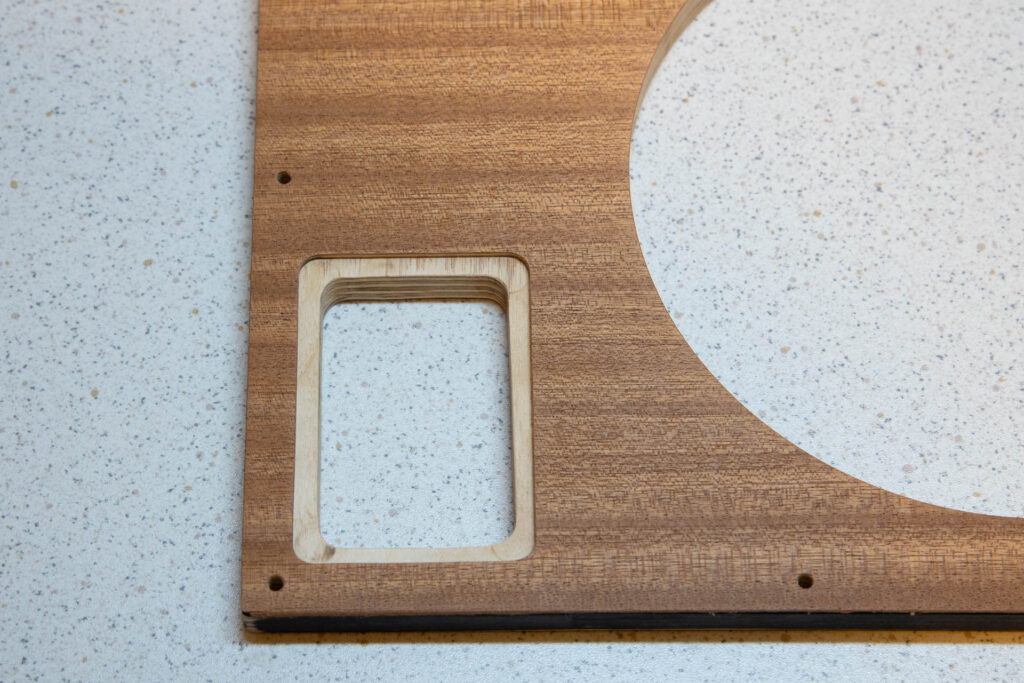
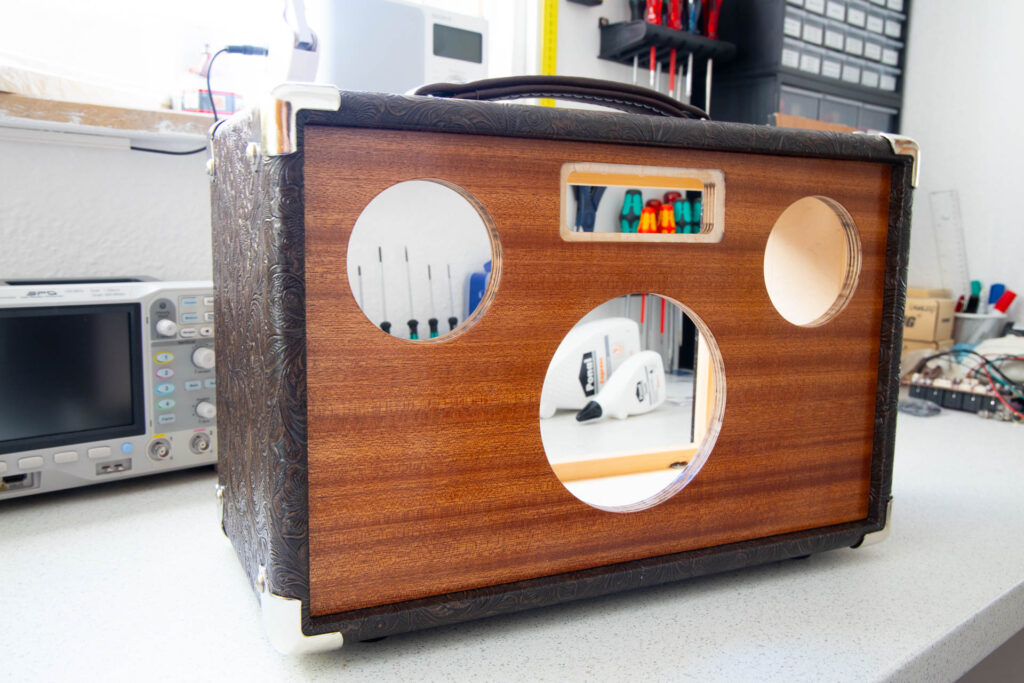
The front and back piece of the cabinet are made of birch plywood with a thickness of 12mm. The front piece has round cutouts for the two fullrange speakers and the subwoofer, and a rectangular cutout for a control panel. The back piece has a round cutout for the passive radiator and rectangular cutouts for an input panel and a charging panel. The cutouts for all three panels are optional, The switches, LEDs, and sockets placed on these panels could also be mounted directly to the front/back piece through drilled holes. Also their number and position could be adjusted to personal preferences.
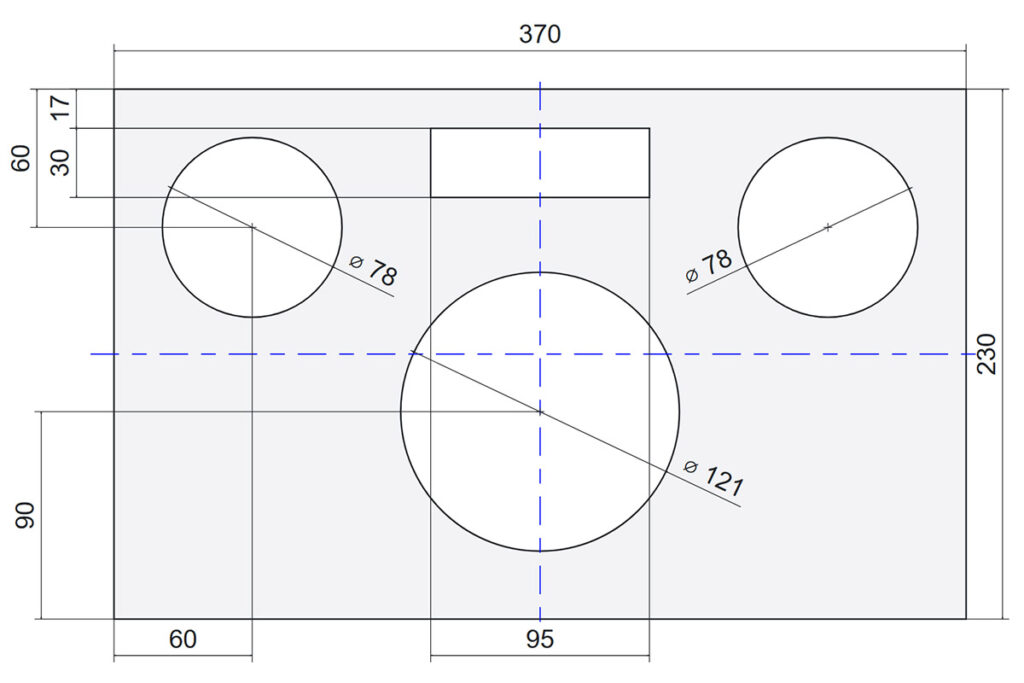

Attention: Due to tolerances and the Tolex glued also partly to the inner surfaces of the cabinet, the actual dimensions of the pieces might be 1-2mm smaller than the ones given in the drawings.
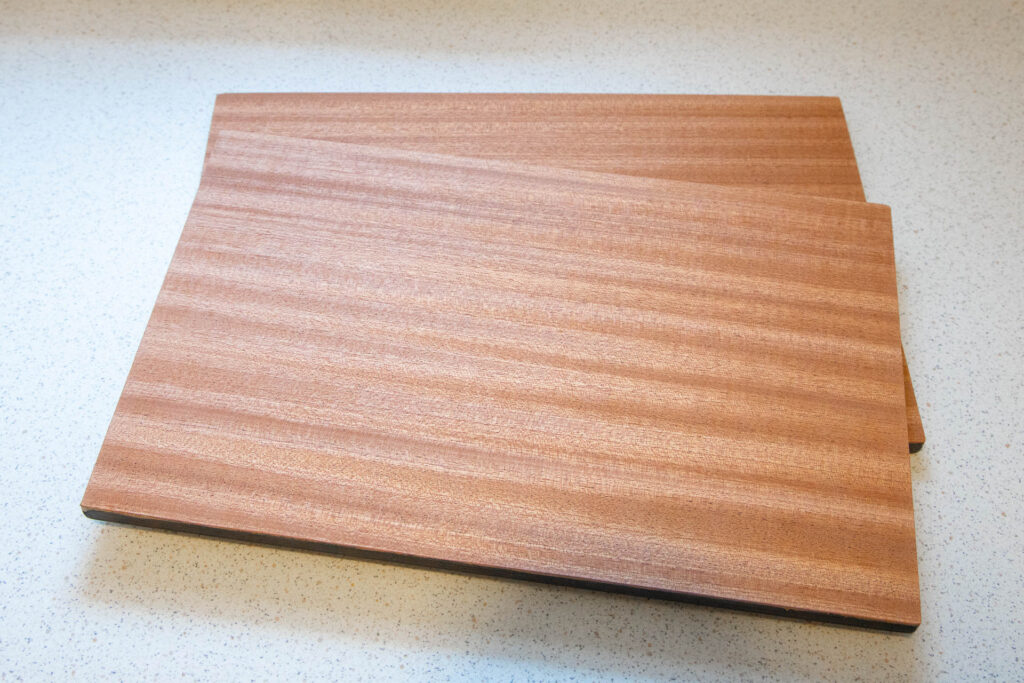
Before I cutted out the cutouts, I veneered both pieces with mahogany (0.6mm). This was a tricky task since I hadn’t done it before. After viewing a lot of videos and several failed attempts with sample pieces I decided to use the (to me) simplest procedure: Glueing on the veneer with Pattex Classic contact adhesive. Although quite smelly, it worked very well without causing cracks in the veneer (what my earlier attempts had done).
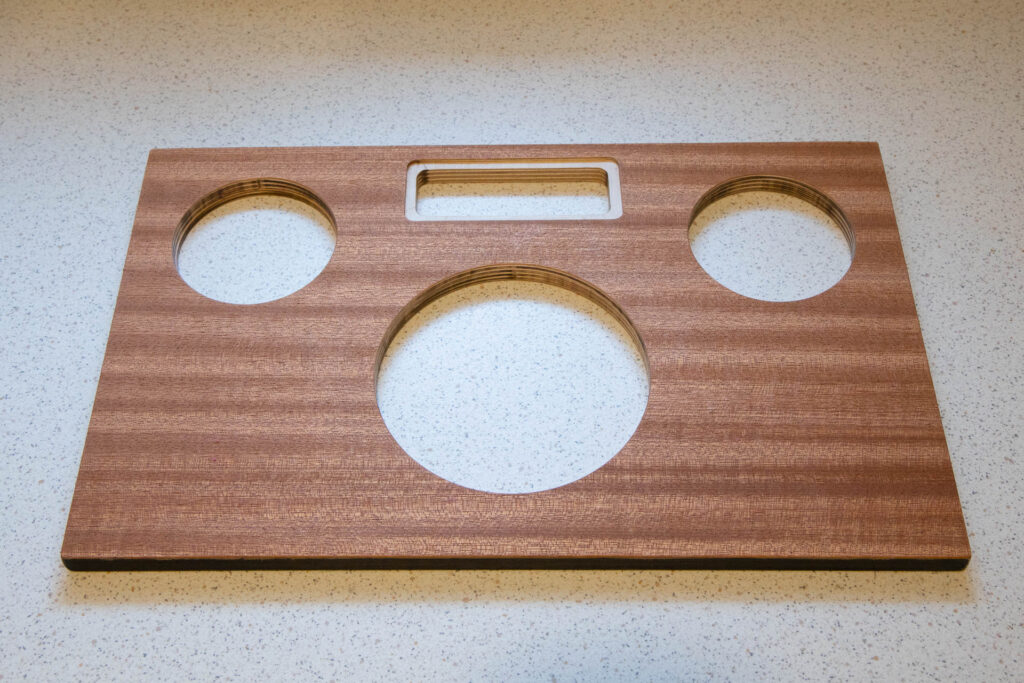
Afterwards, I cut out the cutouts. For this, I used a router and, for the round cutouts, a milling circle. Around the cutouts for the three panels, I milled an additional recess 5mm wide and 2mm deep. Then, I applied several layers (3-4?) of hard oil to the veneer and let each layer dry for a day. At the end, I applied a layer of Renaissance Wax Polish for a nice shine.
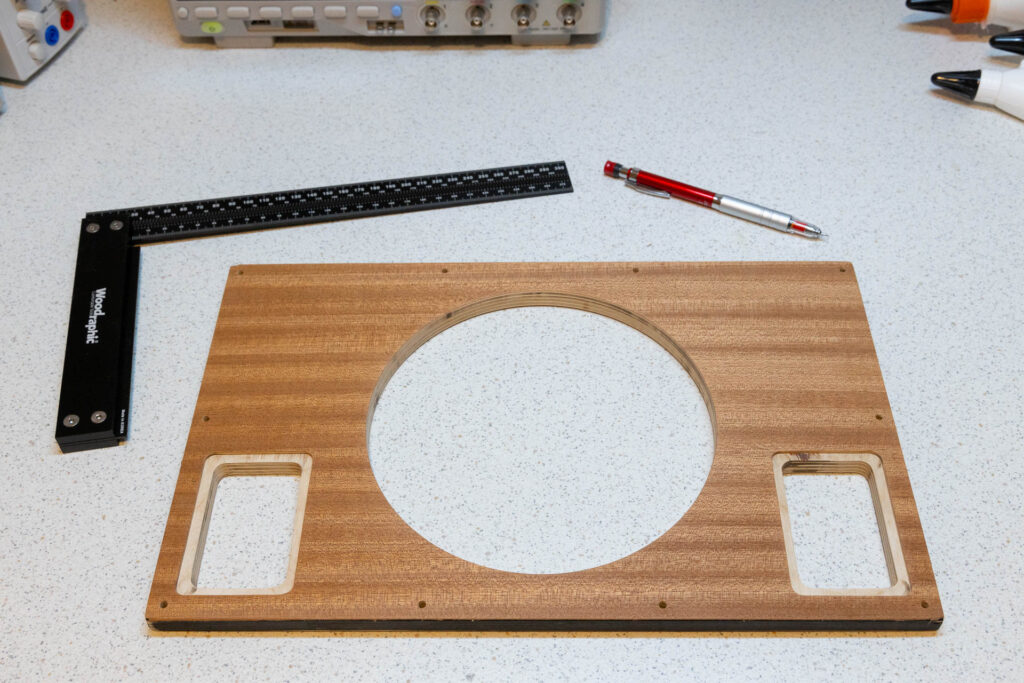
Finally, I glued the front piece to the wooden strips inside the cabinet. The back piece is not installed yet, this will be done in a later step.
In the next post, I will describe how I made the inner speaker compartments of the cabinet.