Disclaimer: The disassembly procedure I present in this post is not based on official service manuals (there doesn’t seem to be any available) but reflects my own experience (and some tips I got on the Filmvorfuehrer forum). The description may be incomplete and might even contain errors. Consider that I am just a self-taught hobbyist, not a trained professional. Copy this procedure at your own risk! Also, consider that any attempt to disassemble and repair a lens carries a certain risk to worsen its condition or to even breaking it completely.
The Lens
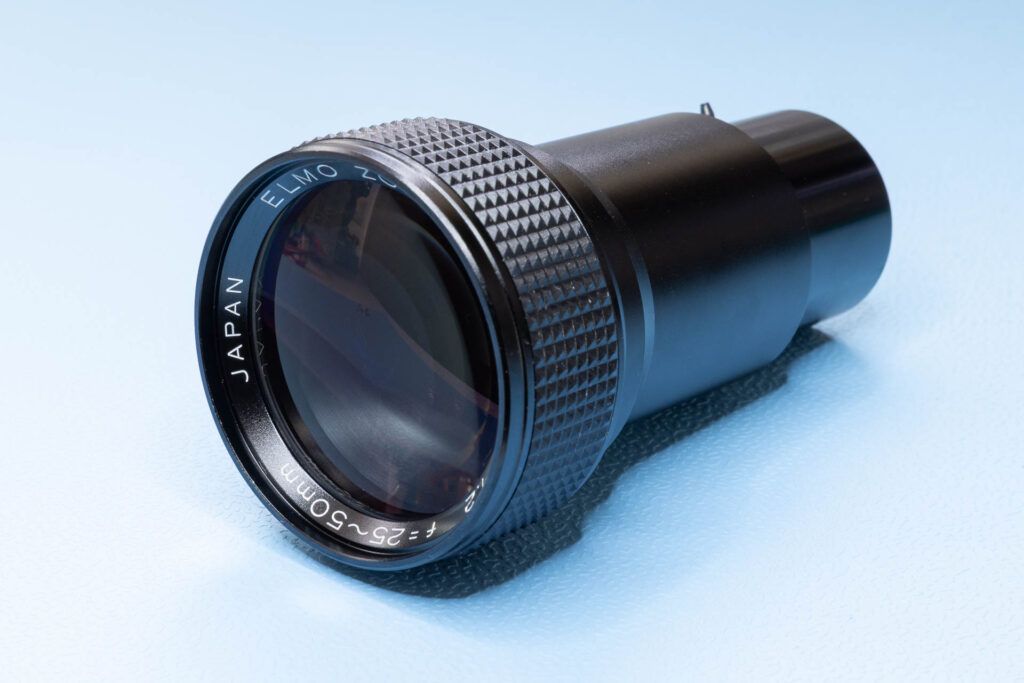
The Elmo 1:1.2 25-50mm is a fast zoom lens for Super 8 film projectors made by Elmo, a Japanese company, in the early 1980s. It was mainly used for high-end projectors like the Elmo GS 1200 Xenon. With its rather large focal length of 25-50mm, it was not intended for home use but for public screening in larger venues (“long throw lens”). For example, to project an image with a width of just 2m, the projector has to be placed between 8,5m (@25mm) and 17m (@50mm) away from the screen.
Over time, some copies of this lens develop haze and/or fungus on the internal lens elements. Depending on the extent of the infestation, sharpness, contrast and/or brightness of the projected image can degrade significantly.
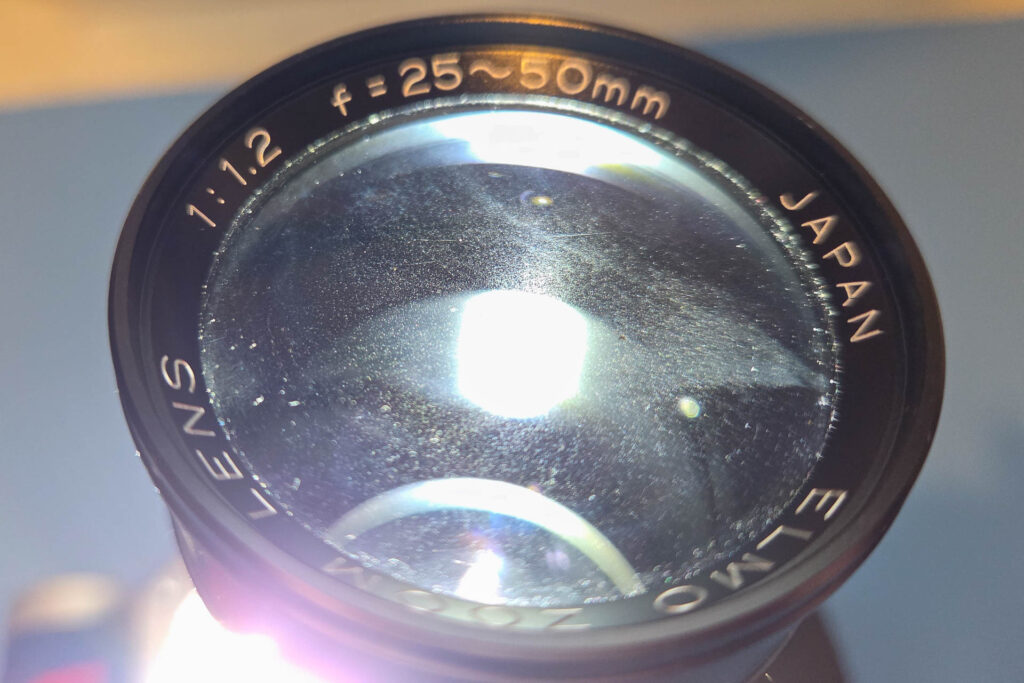
To save the lens, it has to be disassembled and cleaned inside. Unfortunately, disassembly of this lens can be very hard due to the excessive use of glue or threadstopper (instead of screws) by the manufacturer.
Preparation
For disassembly, you should prepare a dust-free (as far as possible), tidy, and well-lit workspace. Before opening the lens, clean its outside, both the barrel and the front lens.
Tools
To disassemble an Elmo 1:1.2 25-50mm lens, you need a certain set of tools. These are my recommendations:
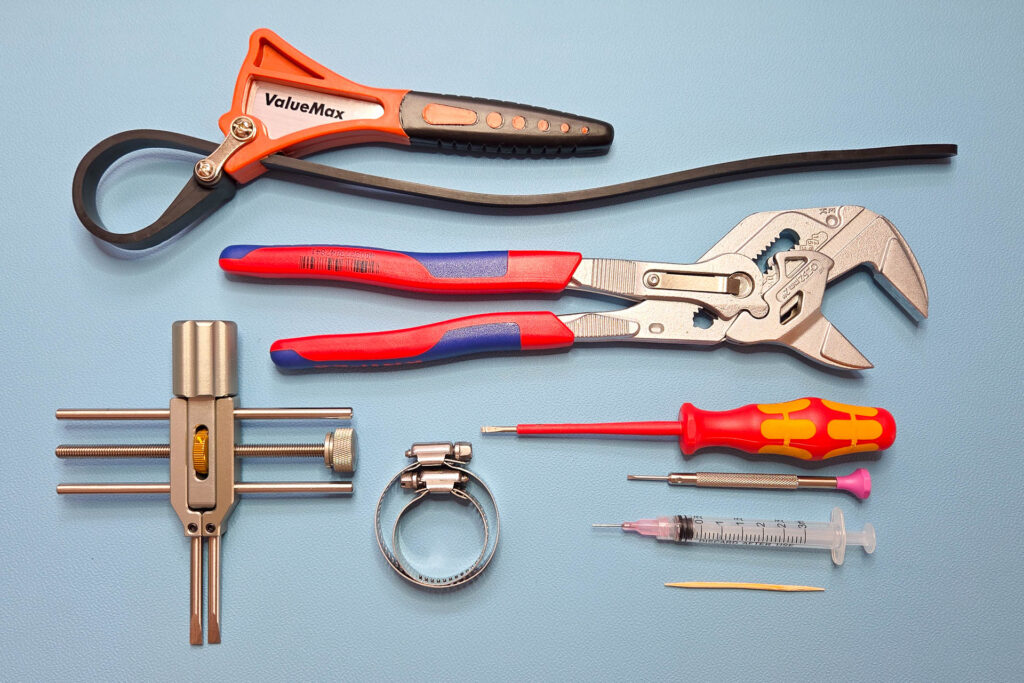
To soften the glue used in the lens, you need some isopropyl alcohol (IPA). Fot reassembly, you need a suitable glue/threadstopper.
At the latest when handling the internal parts of the lens, especially the lens elements, you should wear powder-free latex or nitrile gloves.
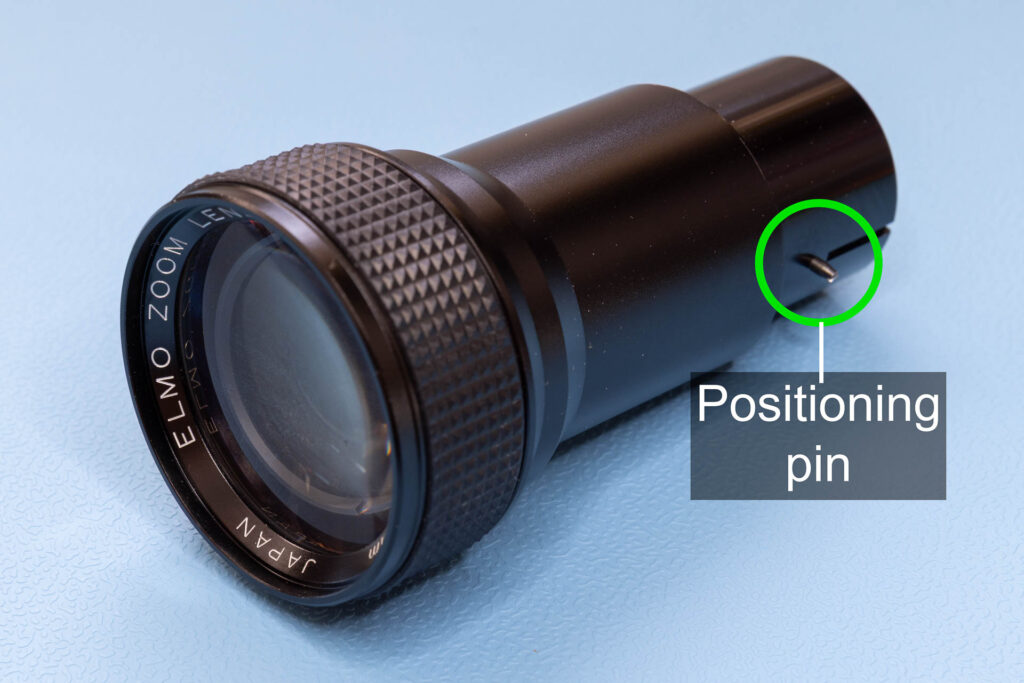
Step 1: Remove the Positioning Pin
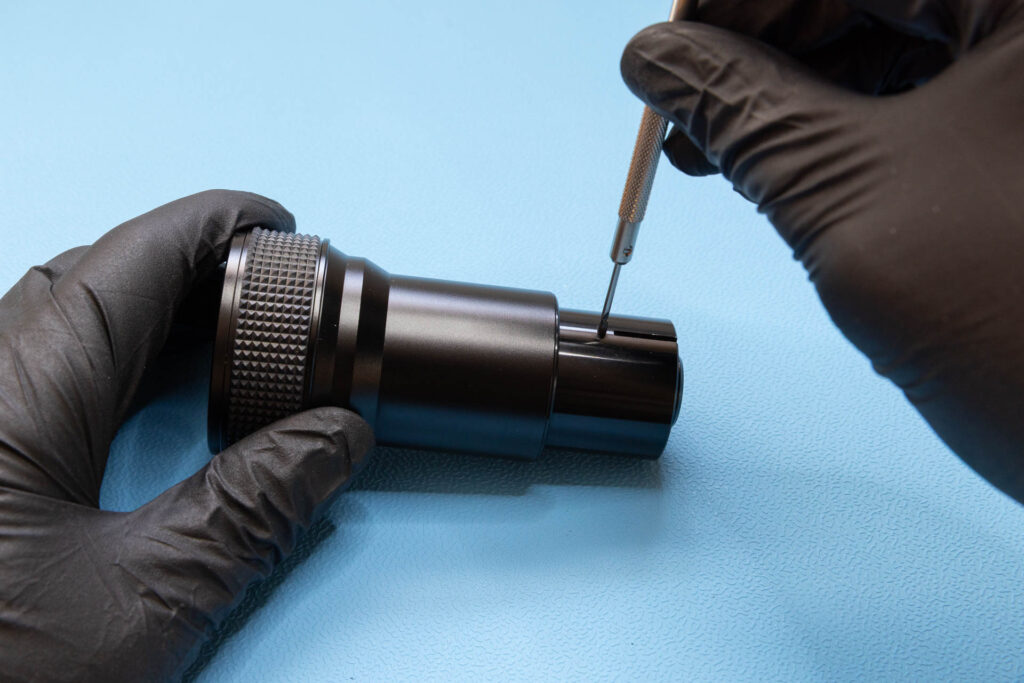
Use a small flat-head screwdriver to remove the positioning pin. This is not necessary to disassemble the lens but should be done to prevent the pin from breaking accidentally.
Step 2: Remove the Zoom Grip Rubber Ring
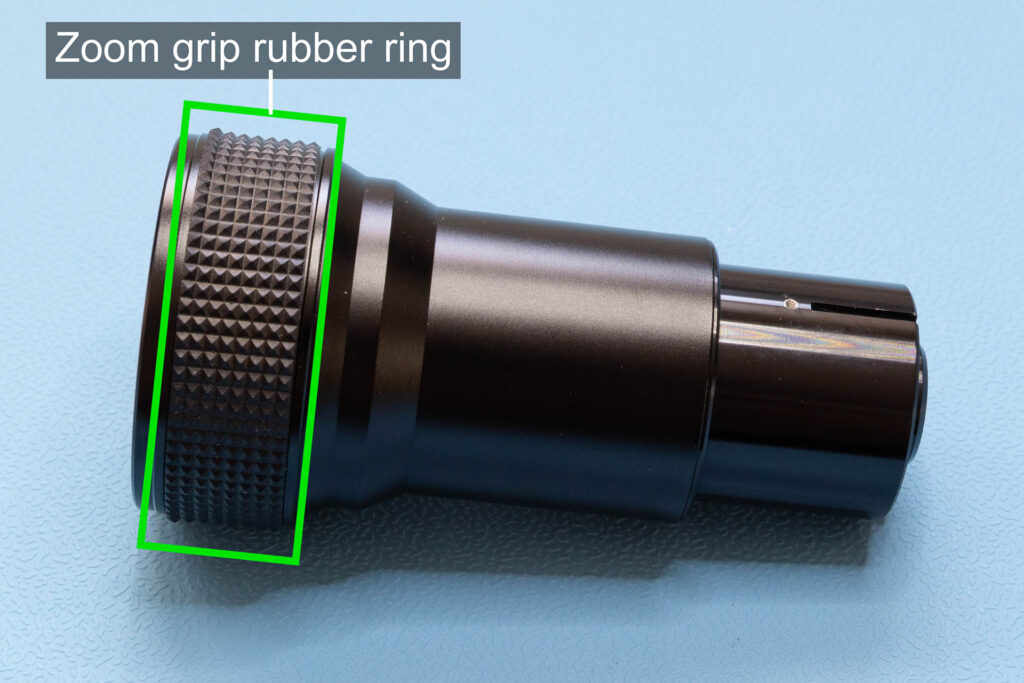
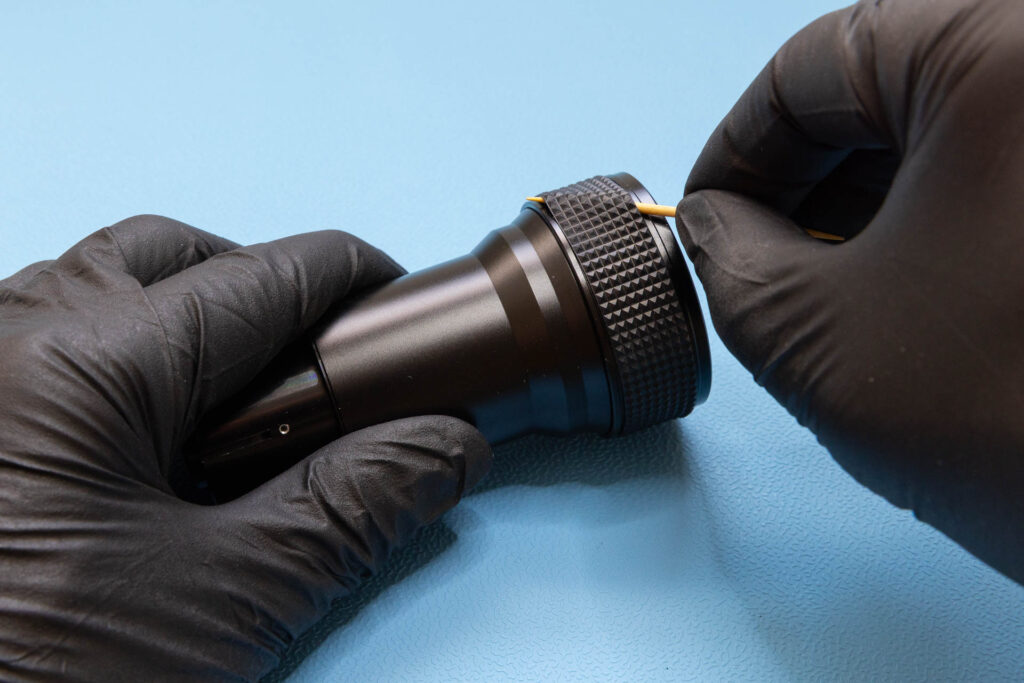
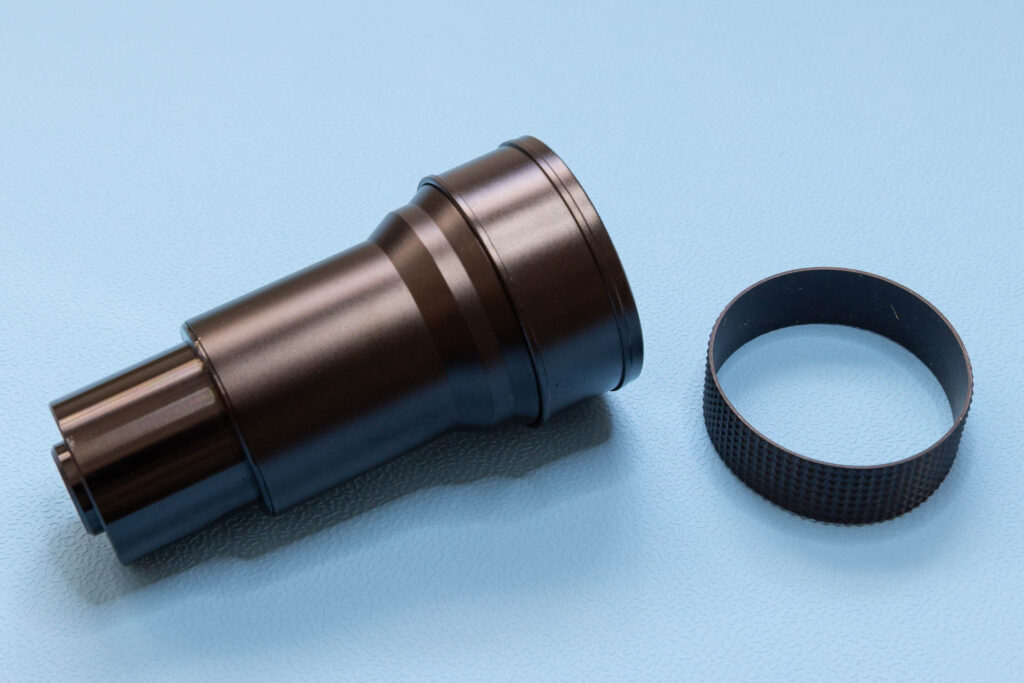
Slide a toothpick, a plastic spatula, or the like under the zoom grip rubber ring. Don’t use a sharp or metallic tool that could cut the rubber ring or scratch the lens barrel. While you rotate the lens, push the rubber ring towards the front of the lens until it comes off.
Step 3: Remove the Rear Section of the Lens Barrel (optional)
If you want to disassemble the lens completely or there is haze/fungus on the rear lens group, you have to remove the rear section of the lens barrel. If the haze/fungus is limited to the front or middle lens group, you can skip this step.
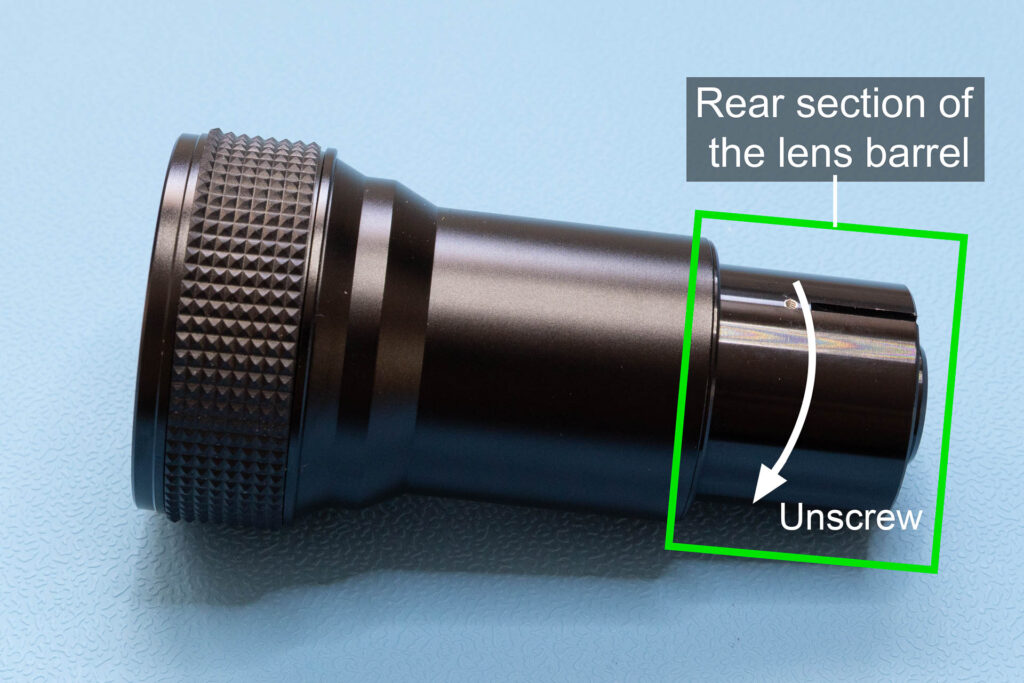
The rear section is screwed into the middle section of the lens barrel and can be unscrewed in anti-clockwise direction (seen from the back). At least in theory. In practice, Elmo used a strong glue on the thread that makes it very unlikely that you can unscrew it by hand. However, you should give it a try, maybe you’re the lucky one. Before, it might be a good idea to mark the relative position of both sections, for example by making a tiny scratch on the barrel. This way, you will know how far you have to screw in the rear section when you reassemble the lens.
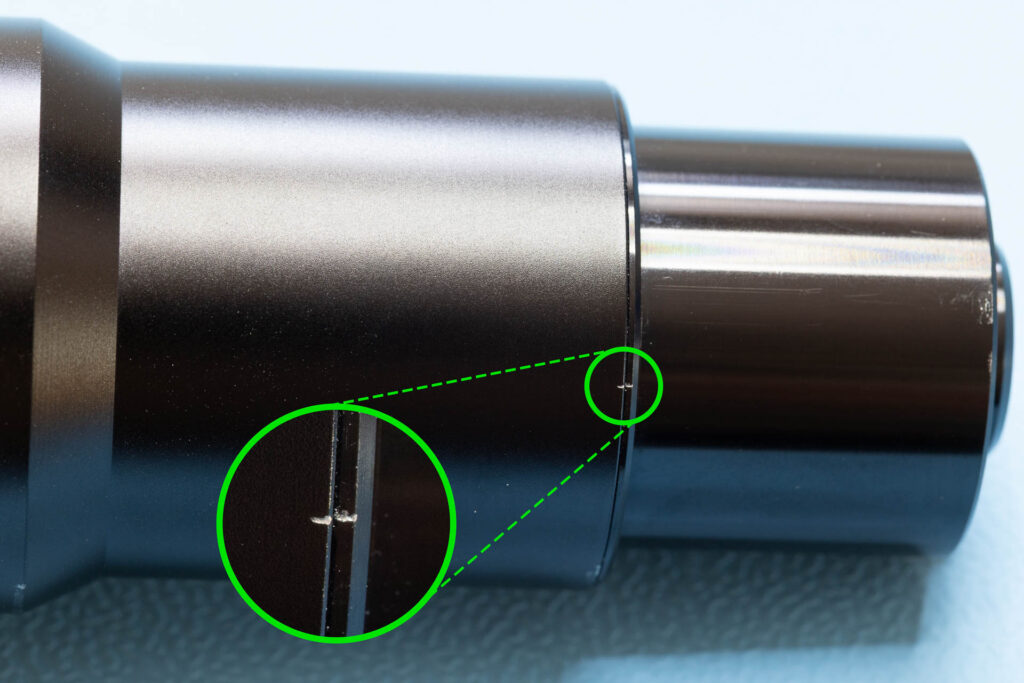
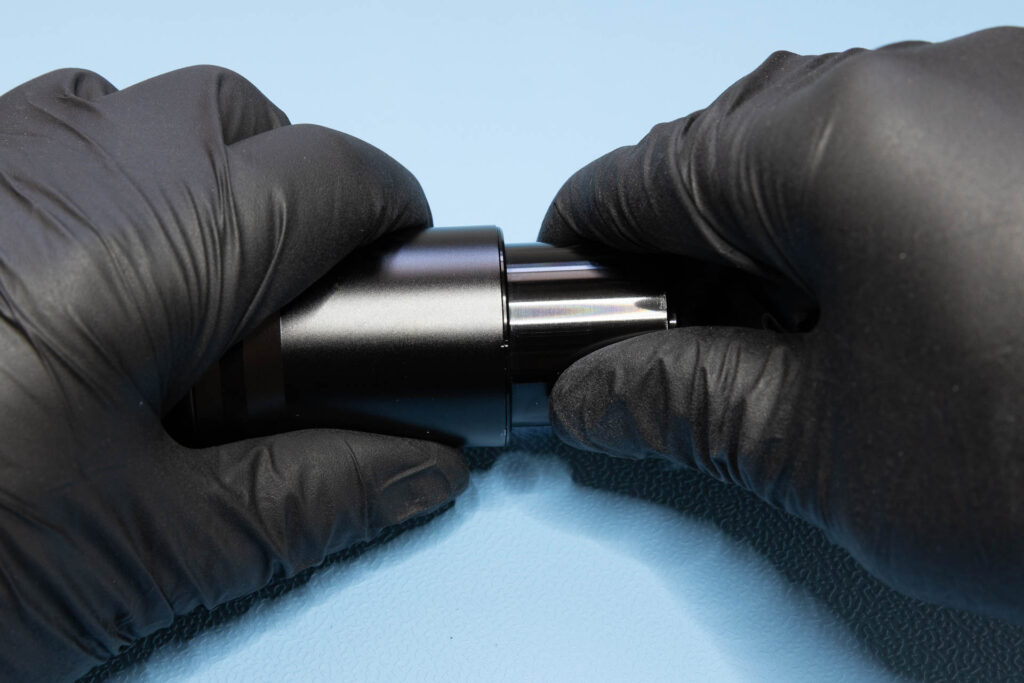
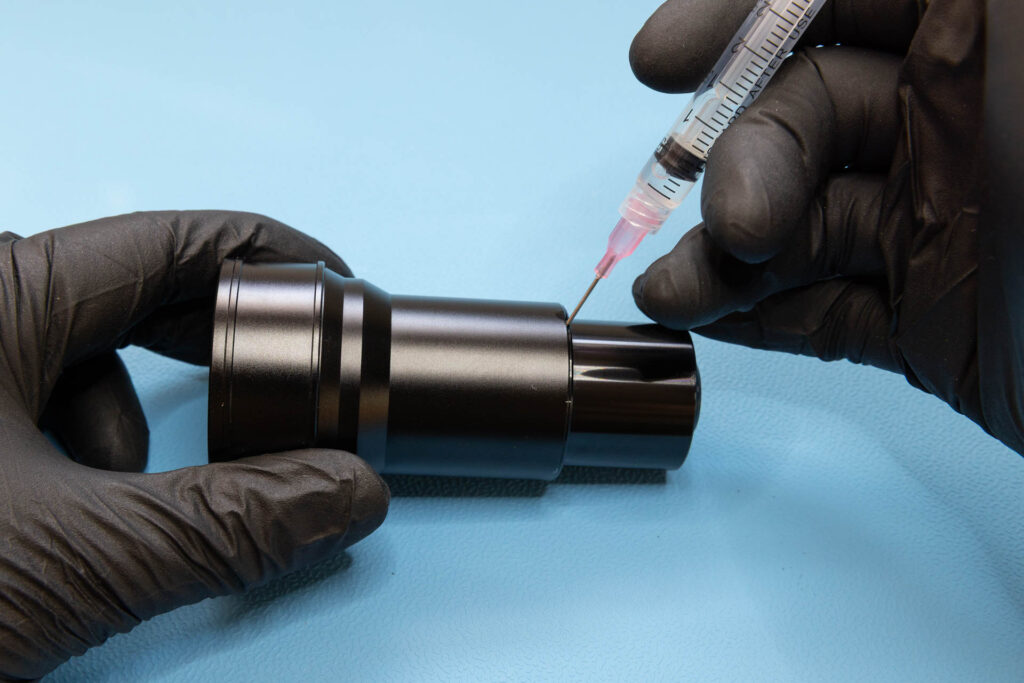
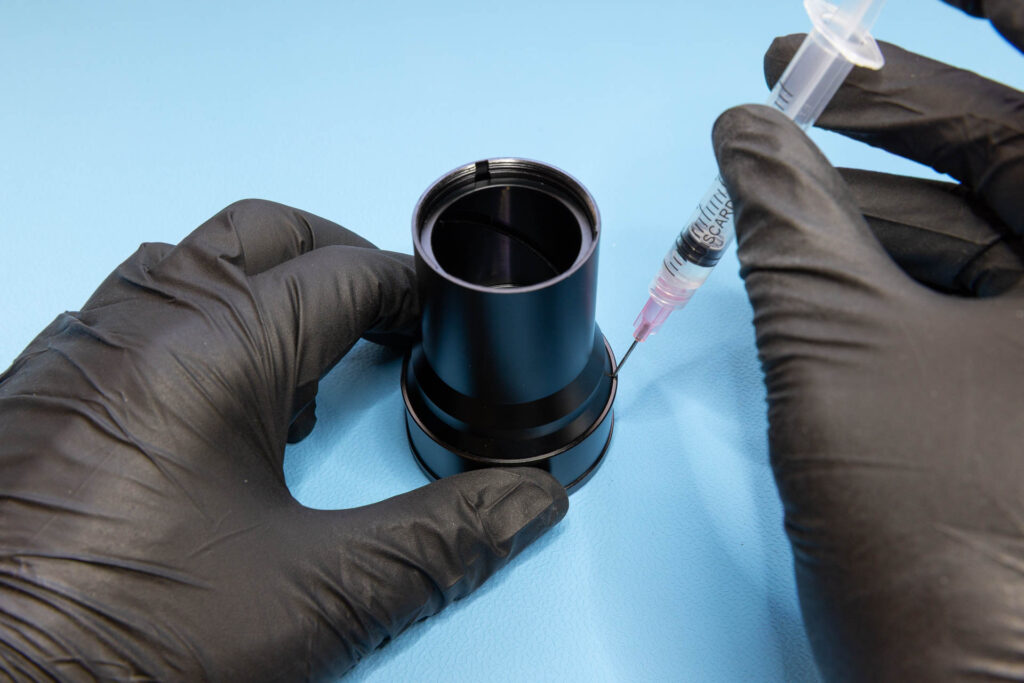
Probably, you were not able to unscrew the rear barrel section by hand. In this case, apply some isopropyl alcohol (IPA) to the small gap between the barrel sections to soften the glue. Let it sit for some time (like an hour) and try again to unscrew the rear section by hand.
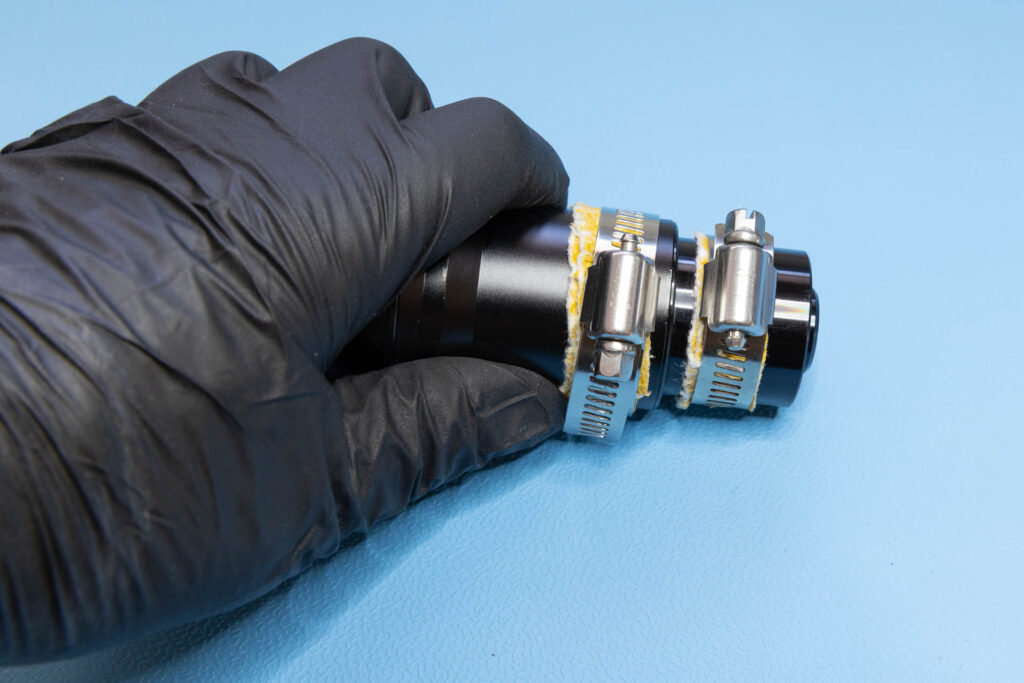
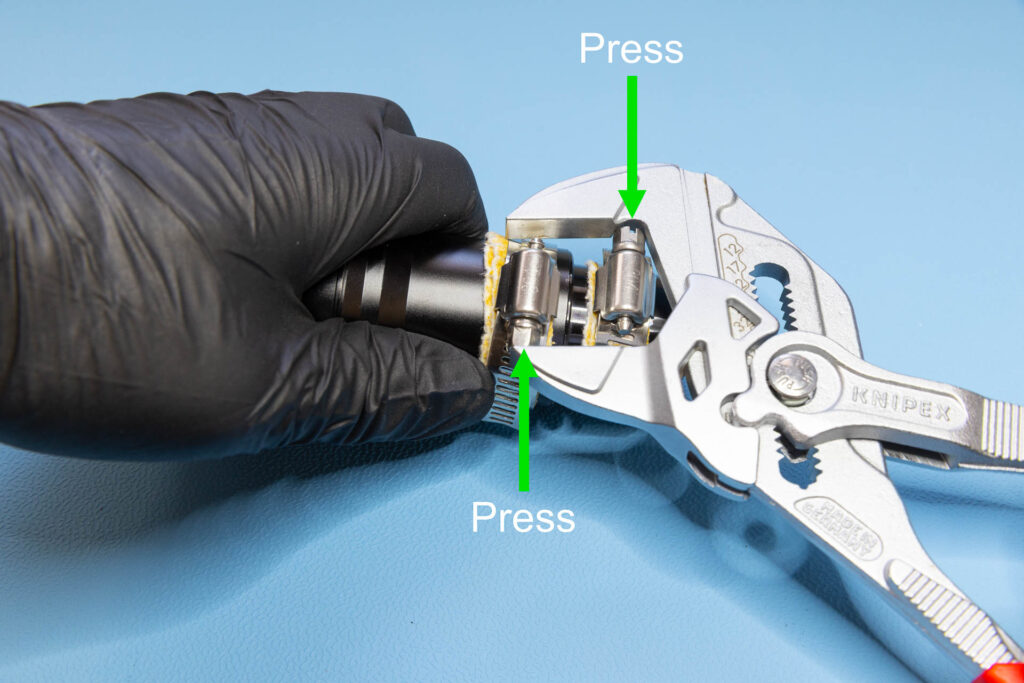
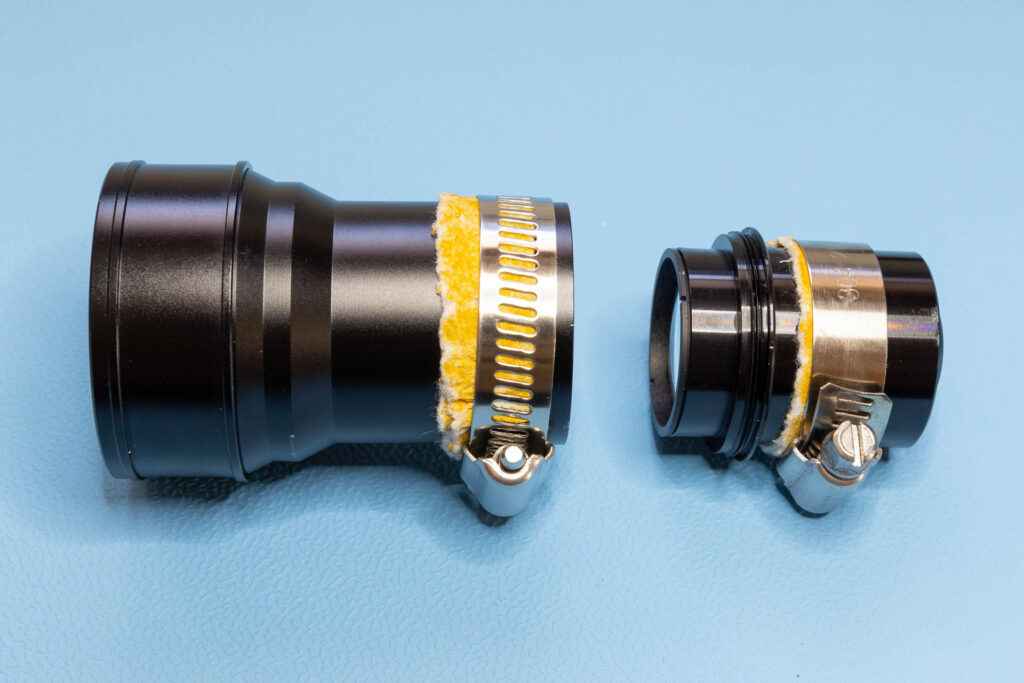
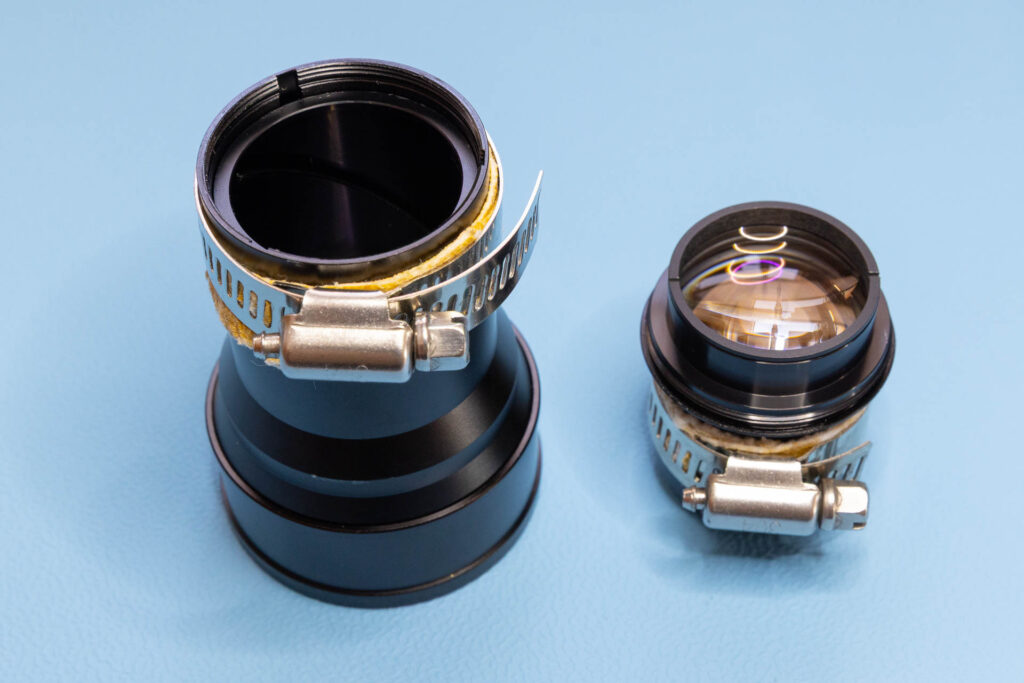
Still not successful? Then I would suggest to use the “hose clamp” method: Place hose clamps on both sections of the barrel. For the middle section (diameter 39 mm), I used a hose clamp with 27-51 mm range. For the rear section (diameter 32.5 mm), I used a hose clamp with 21-38 mm range. Place a strip of leather or the like under each hose clamp to prevent scratches. Position the housings of the clamps slightly offset from each other with the one on the rear section a bit “over” the other. Tighten the hose clamps. Then, use pliers or a vise to press the housings towards each other (be careful not to scratch the lens barrel). This should loosen the screw connection and allow you to unscrew the rear section by hand.
Step 4: Remove the Zoom Section
Attention: The beauty ring (front/decoration/nameplate ring) of the lens cannot be unscrewed or lifted off. It is an integral part of the zoom section. Attempts to remove it may damage the zoom section or the front lens element.
In my experience, removing the zoom section is the hardest part of the disassembly. The zoom section is not connected directly to the lens barrel. Instead, it is screwed onto the cam cylinder (also called ‘cam shaft’) that turns inside the barrel. This cam cylinder is responsible for moving the middle lens group back and forth, thus producing different focal lengths. You can try to unscrew the zoom section in anti-clockwise direction (seen from the front) by hand. However, you will probably fail since also here the manufacturer used a strong glue.
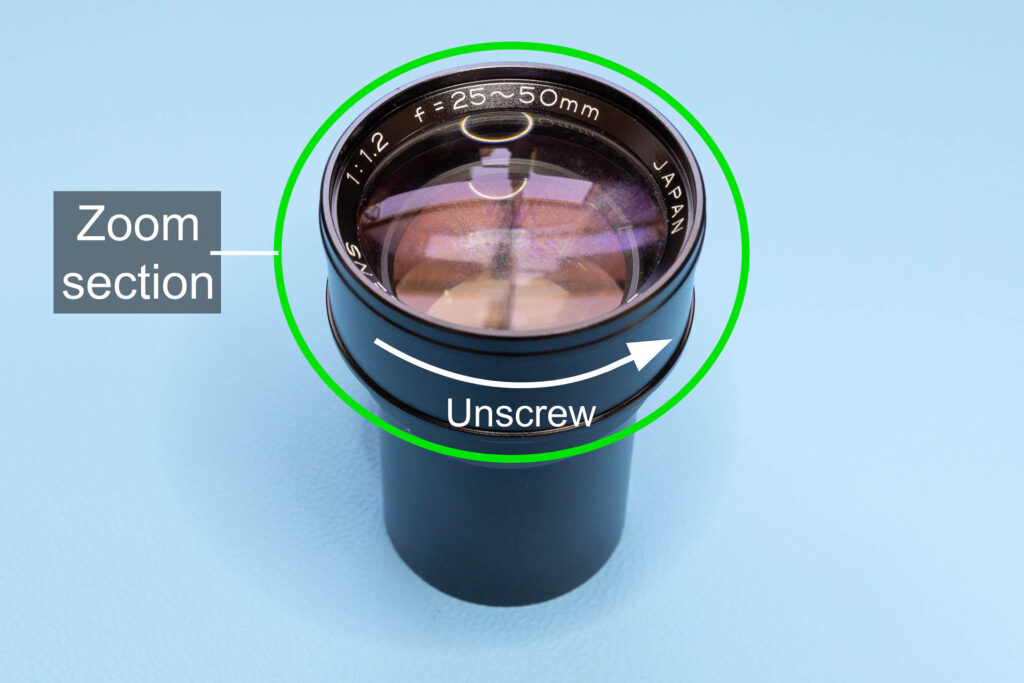
In this case, place the lens face down onto a small plate or a rubber/silicone working mat. Then, apply some isopropyl alcohol (IPA) to the small gap between the lens barrel and the zoom section to soften the glue. Don’t use acetone since it might damage the coating of the front lens element! Let the lens sit face down for some time (like an hour or even overnight) and try again to unscrew the zoom section by hand.
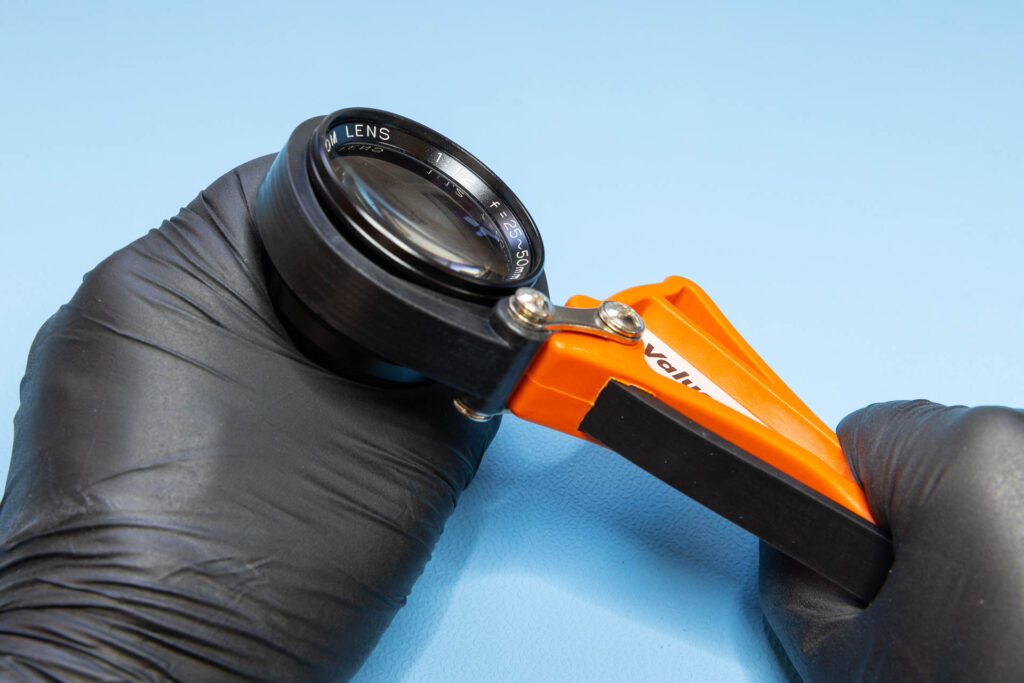
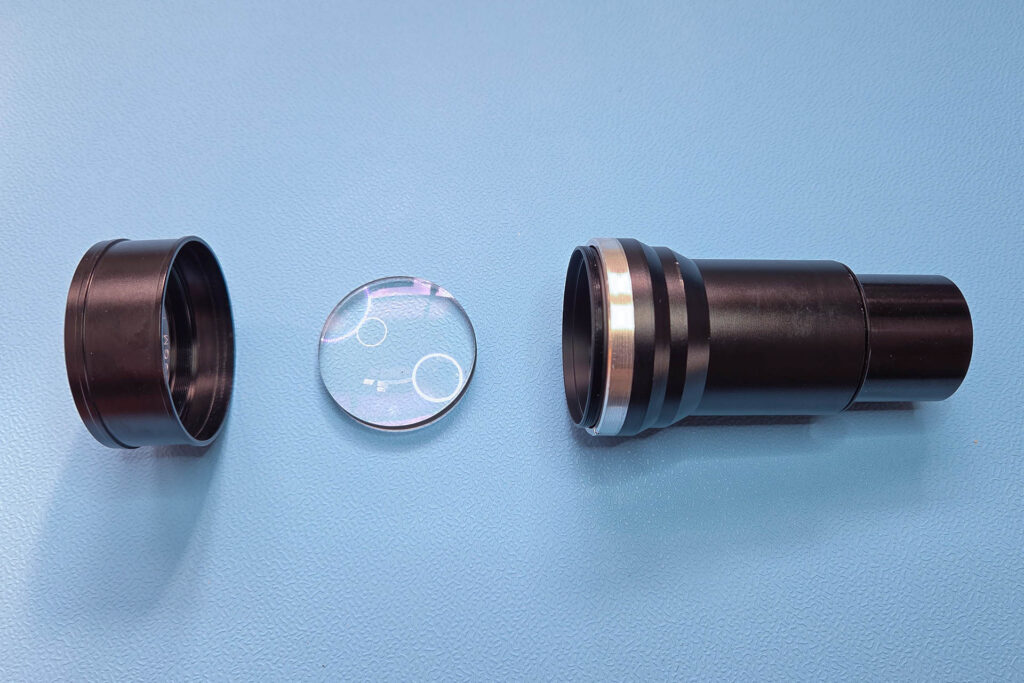
Still not successful? Again, you could use the “hose clamp” method described above. However, this might not work well since the difference of the diameters of the zoom section and the lens barrel is quite high and you would also need to place the clamps further away from each other. Instead, I suggest to use a smaller rubber strap wrench. Grab the lens barrel with one hand (using latex/nitrile gloves will increase your grip), put the strap wrench around the zoom section, and twist the strap wrench in counter-clockwise direction. This should loosen the screw connection and allow you to unscrew the zoom section by hand. Be careful, the front lens group is only secured by the zoom section and may fall out if you hold the lens at an angle.
Step 5: Remove the Retaining Ring of the Cam Cylinder
The cam cylinder, holding the middle lens group, is secured by a silver-colored retaining ring. Also here, the manufacturer used glue (or threadstopper) to secure the retaining ring. Apply some isopropyl alcohol (IPA) to the thread of the retaining ring to soften the glue. Let it sit for some time (like an hour).
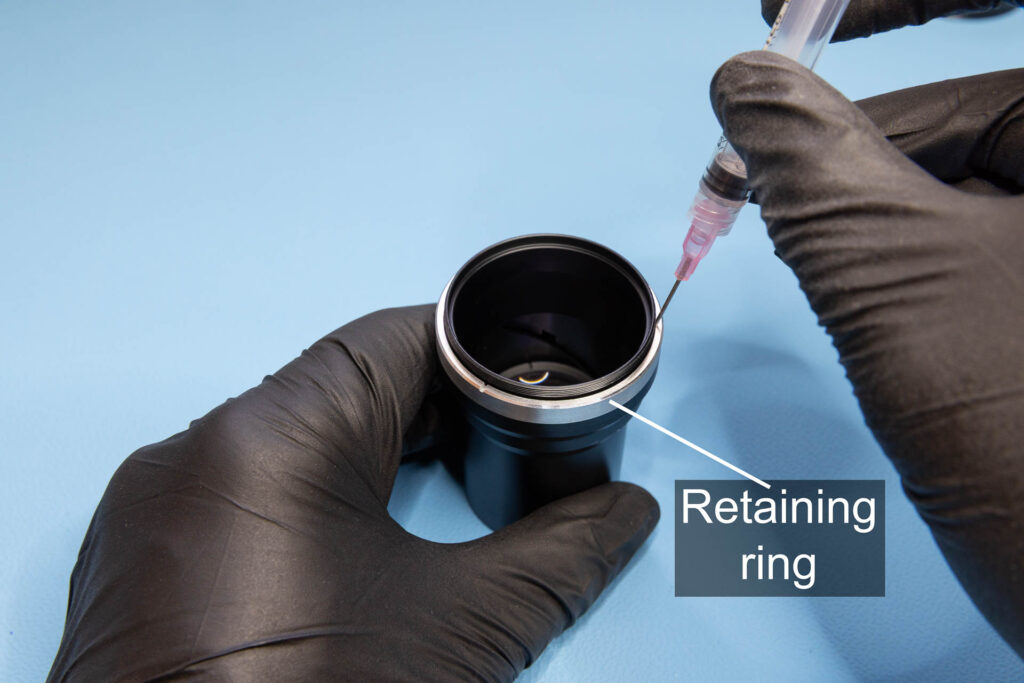
Then, unscrew the retaining ring in anti-clockwise direction (seen from the front) using a lens spanner.
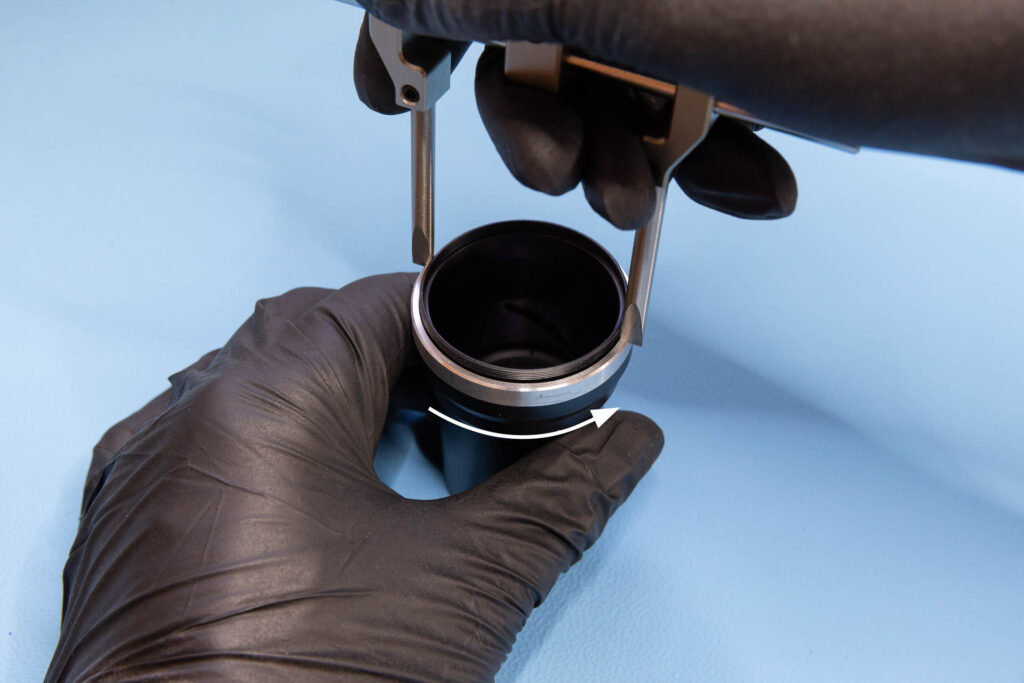
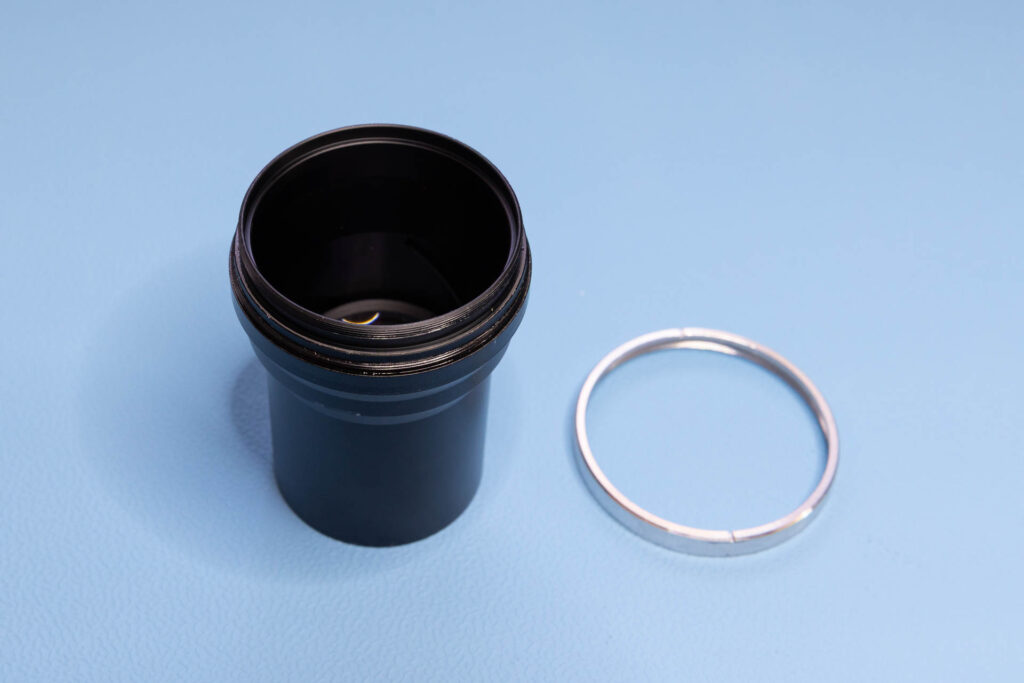
Step 6: Lift the Cam Cylinder Out
After removal of the retaining ring, the cam cylinder (with the middle lens group) can be lifted out of the lens barrel.
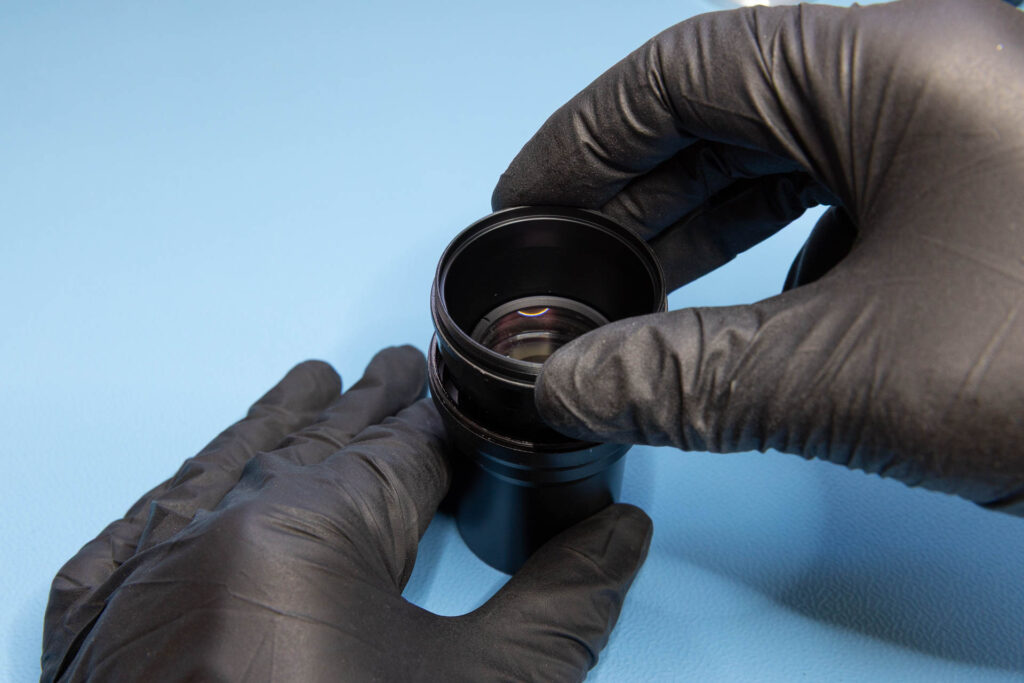
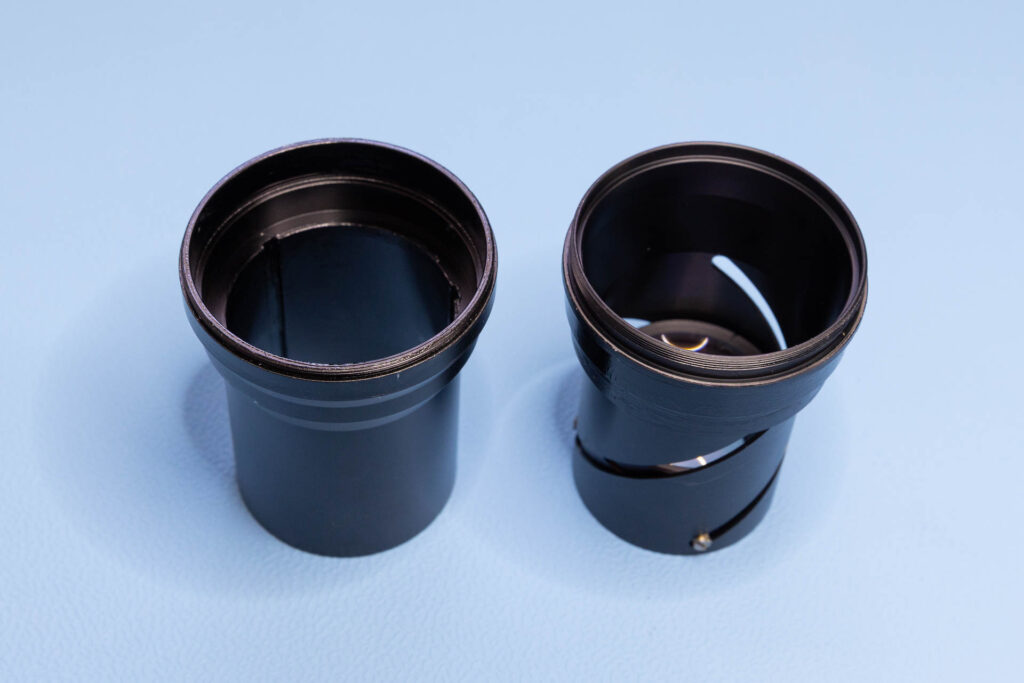
Step 7: Remove the Middle Lens Group (optional)
If you want to disassemble the lens completely or there is haze/fungus on the middle lens group, you have to remove the lens group from the cam cylinder. Otherwise, you can skip this step.
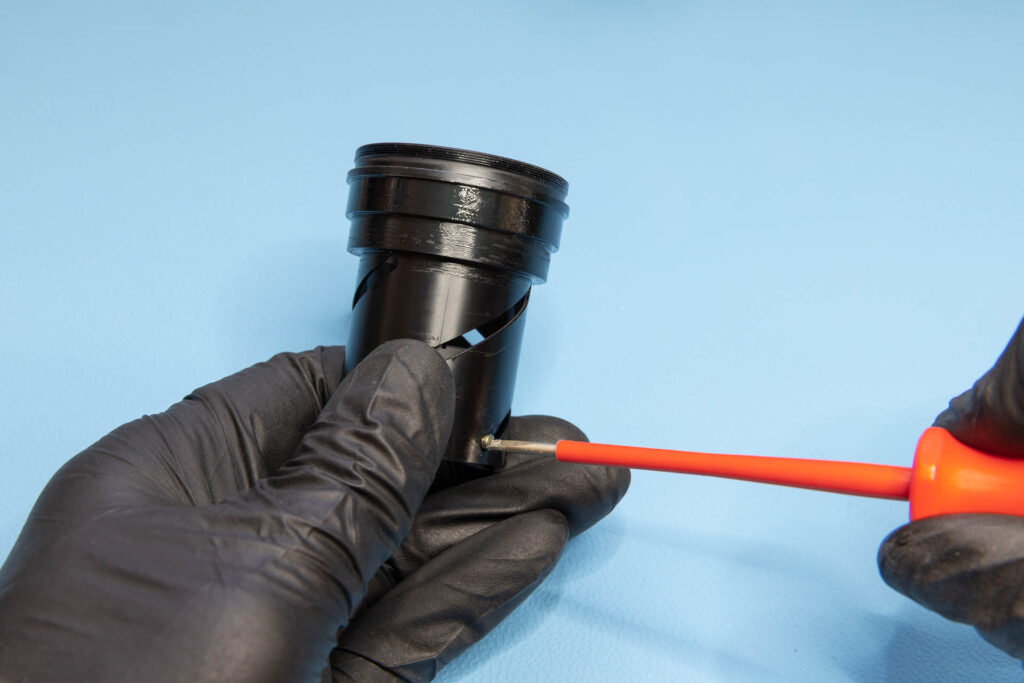
The middle lens group is held in the cam cylinder by three slotted flat-head screws. Beside securing the lens group in the cam cylinder, these screws also act as cam followers. They slide in the cam cylinder’s grooves, moving the lens group back and forth when the cam cylinder rotates. Use a flat-head screwdriver to remove the screws.
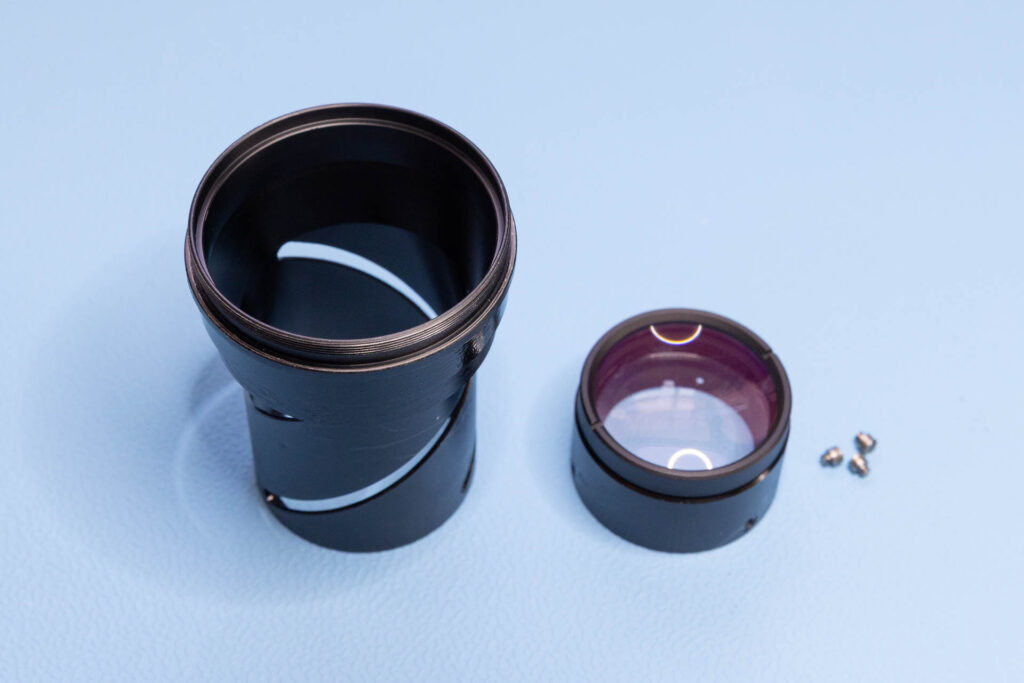
If you followed all the steps described above, these components of the lens should lay on your workbench now:
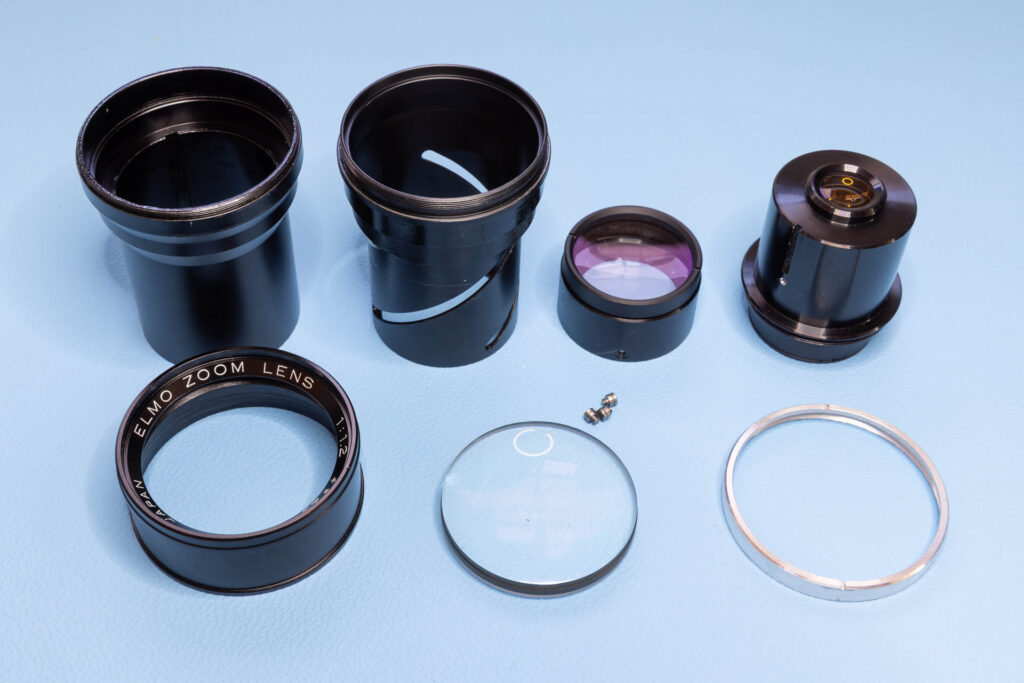
With this, the main disassembly is finished. The middle and rear lens group can be disassembled further (removing a retaining ring). However, this should only be done if really needed and is straightforward.
Cleaning the Lens and Reassembly
There are different opinions on the best way to clean haze or fungus from lens elements. I do not want to get into detail here since the intention of this post is only to describe the disassembly of the lens. Personally, I use a 50:50 solution of hydrogen peroxide (3%) and ammonium hydroxide (9%) to clean the lens elements, then rinse with destilled water, and finally use some lens cleaner. In my case, this was sufficient to remove the haze/fungus from the lens completely.

The mechanical reassembly of the lens is straightforward. The only difficulty is to reglue the retaining ring, zoom section, and the rear section of the lens barrel. Without reglueing, these parts might come loose when handling the lens, especially when zooming it. For the retaining ring and the zoom section, I was successful using Loctite 243 (blue, medium strength). For the rear section of the lens barrel, Loctite was not sufficient. Probably due to the short, loose-fitting thread, Loctite failed under higher rotational forces and the sections became loose. Therefore, I used Pattex contact cement for this specific thread.
That’s all.