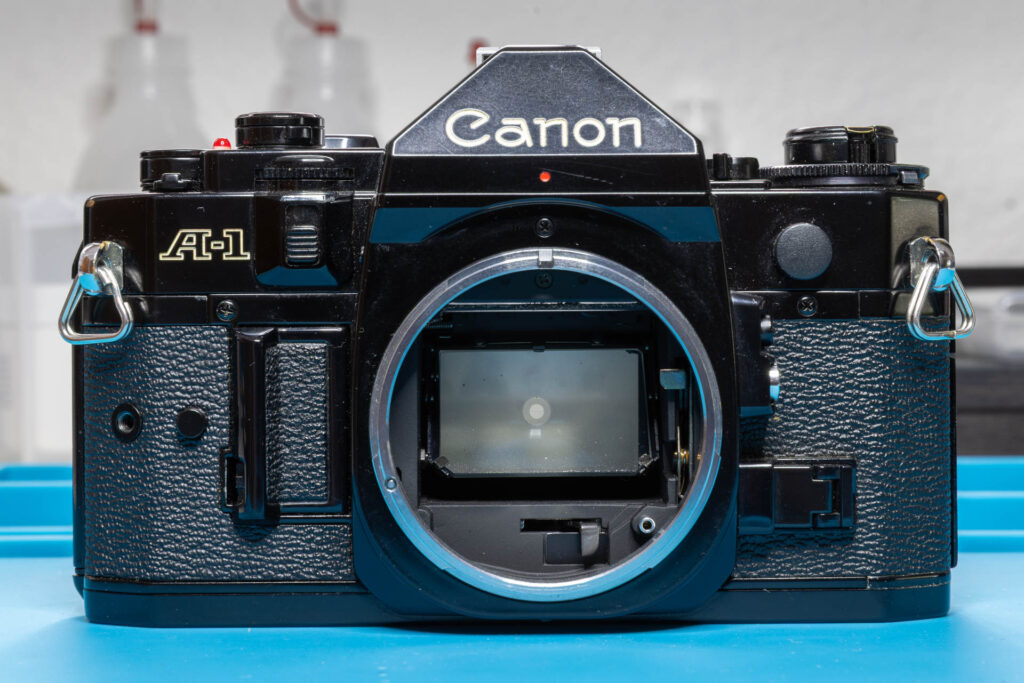
Disclaimer: The repair procedure I present in this post is inspired by the official service manual and renowned repair articles but mainly reflects my own experience. The description may be incomplete and might even contain errors. Consider that I am just a self-taught hobbyist, not a trained professional. Copy this procedure at your own risk! Also, consider that any attempt to disassemble and repair a camera carries a certain risk to worsen its condition or to even breaking it completely.
When a Canon A-1 has to be disassembled for CLA (Clean – Lubricate – Adjust) or repair, this process often involves also the removal of its bottom cover. The removal procedure is simple.
Preparation
No preparatory steps needed.
Tools
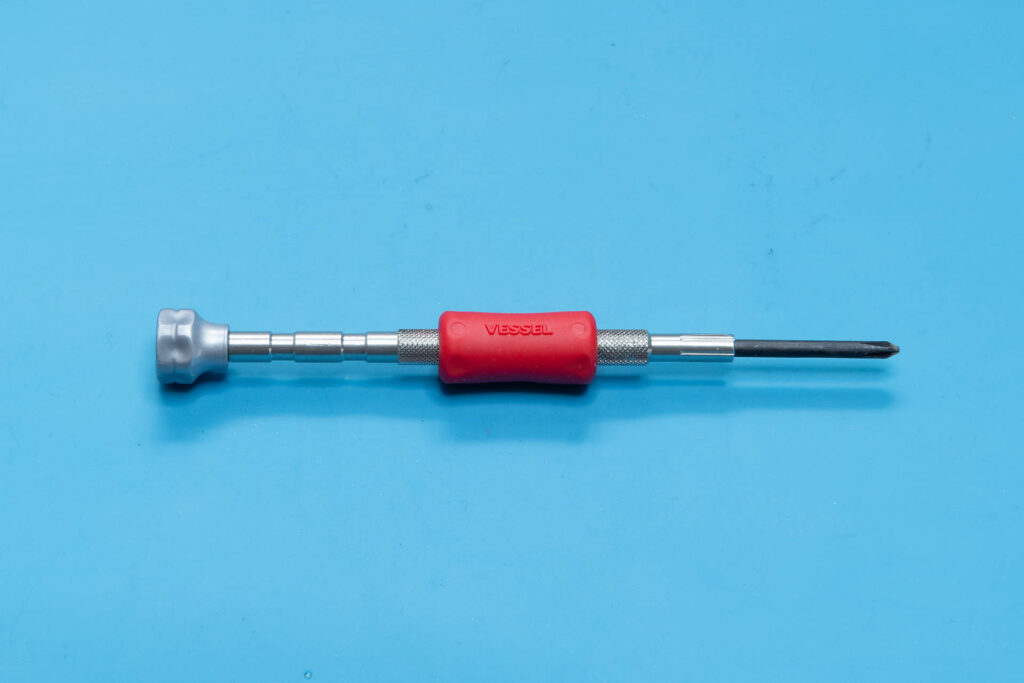
For removing the bottom cover of a Canon A-1, you only need a JST screwdriver #00.
(A Phillips screwdriver PH00 or PH0 might work “somehow” but be aware that it might damage the screw head.)
Remove the Screws, Then the Bottom Cover
Two screws hold the bottom cover in place. Remove these screws. Afterwards, you can just lift off the bottom cover.
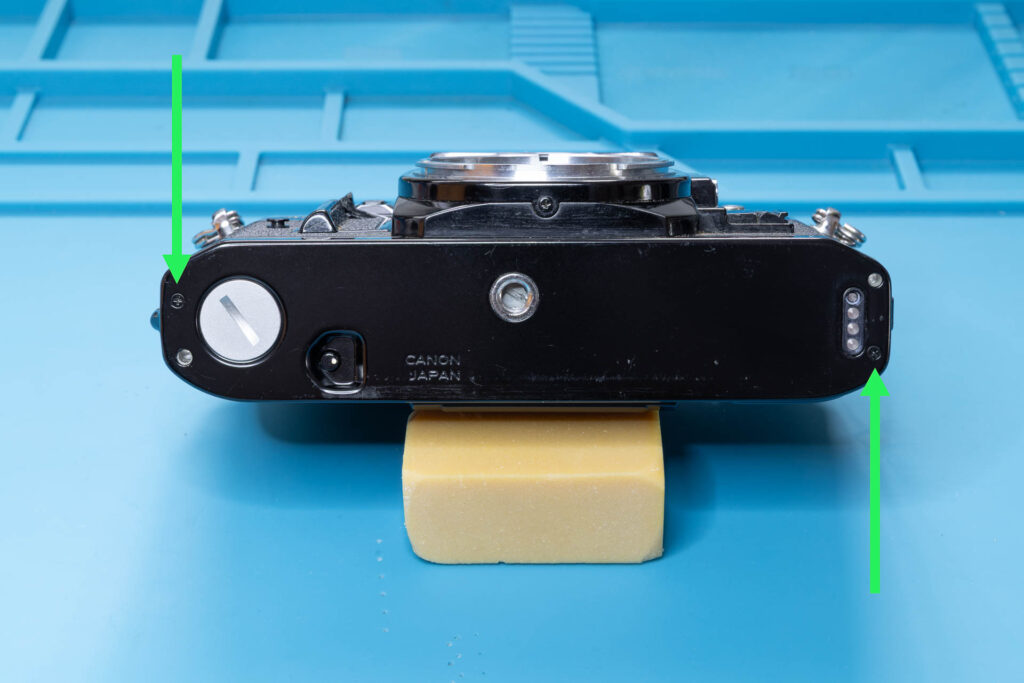
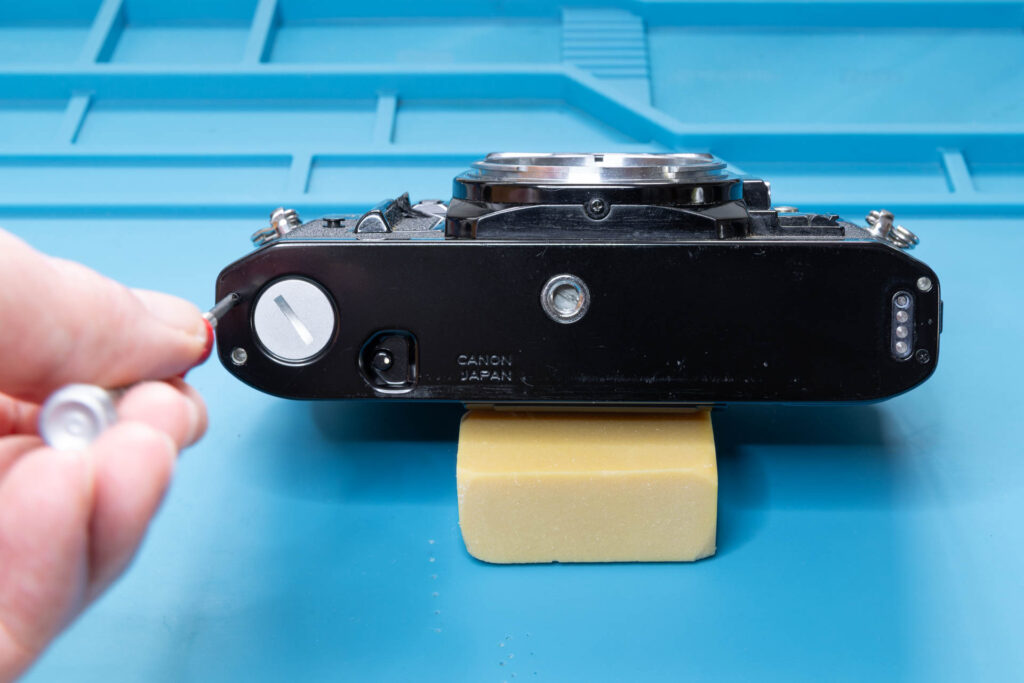
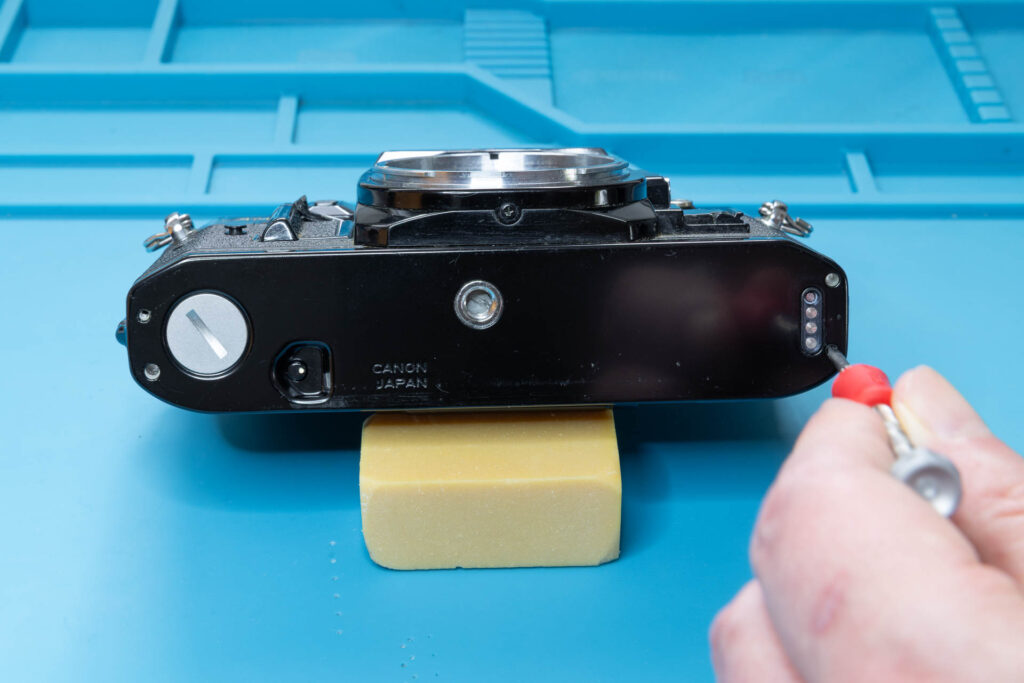
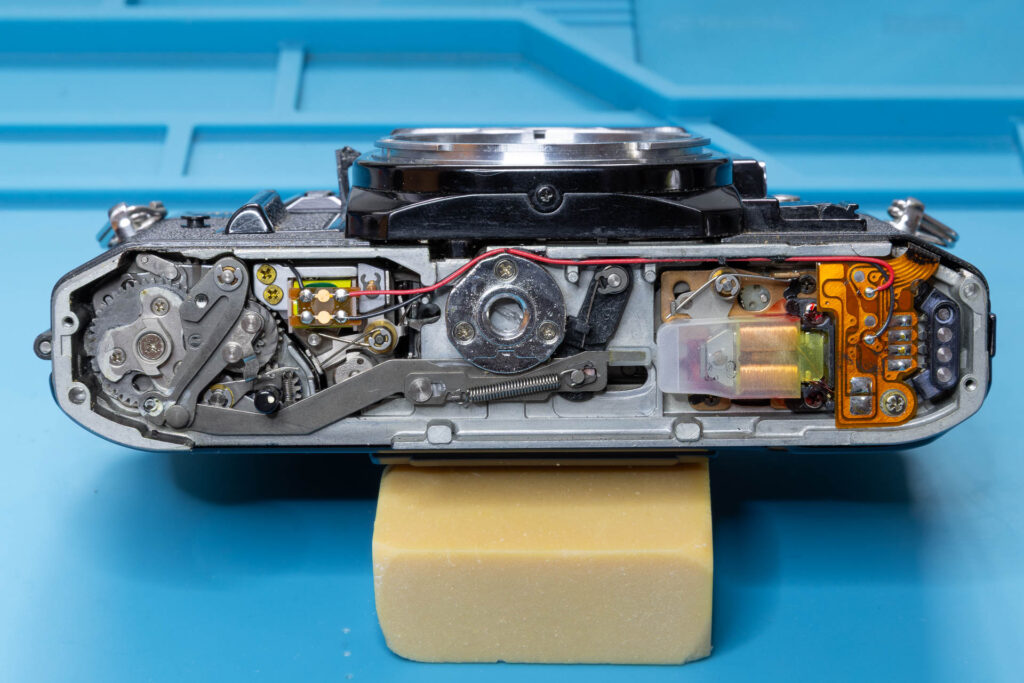
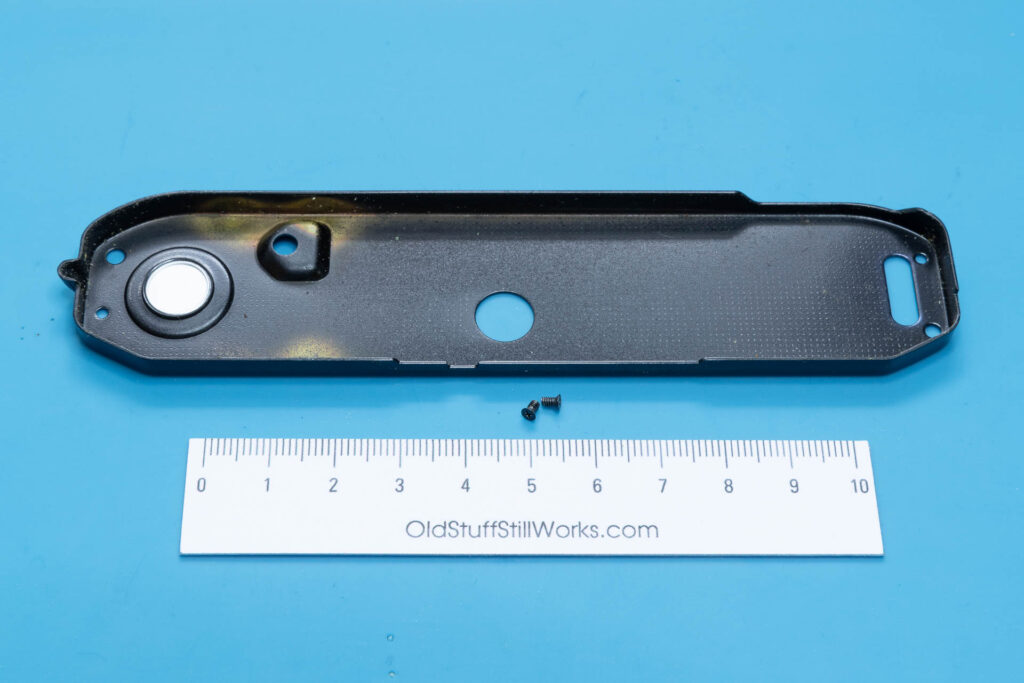
The following parts have been removed: two screws (1.65×2.2mm), base cover.
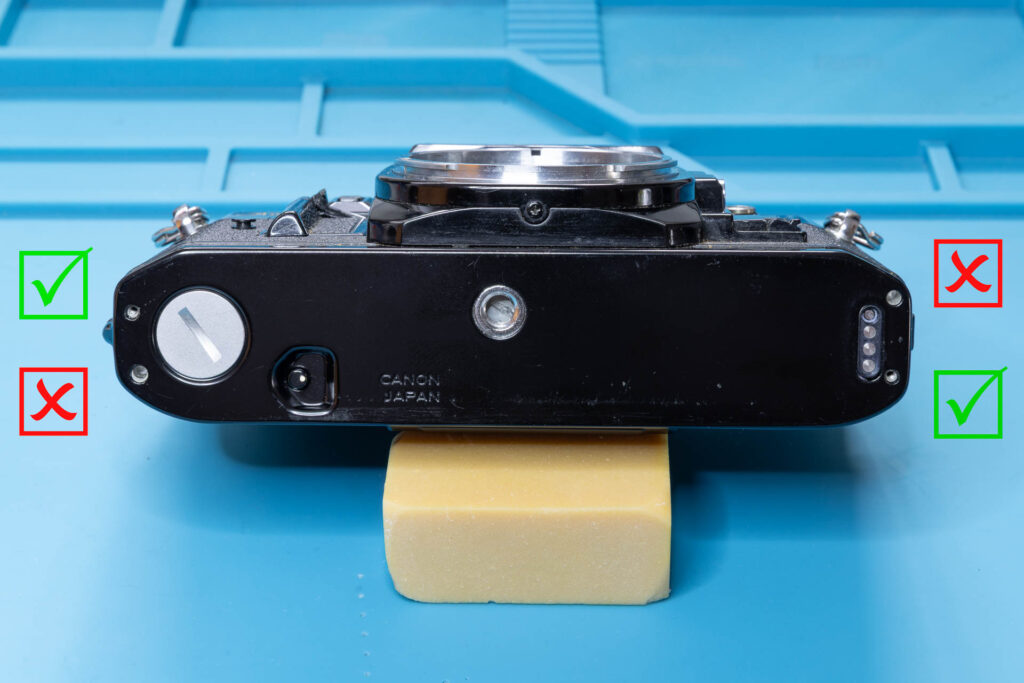
Bonus Tip: Be Careful Where You Insert the Screws
When you screw the bottom cover back onto the camera, make sure to insert the screws into the correct holes! On both sides of the bottom cover, there are two holes. One is for the screw, the other is a positioning hole for the optional motor drive. If you insert the screw into this second hole, the bottom cover is not fixed. Even worse: the screw might get stuck inside the positioning hole and it could be very hard to get it out again.
That’s all.